April 2, 2010
Are you tired of coloring Easter Eggs the same old way? I am. I'm tired of just plopping a dye tablet in a cup, adding a little vinegar and water and taking turns putting the eggs into the cups. Boring!
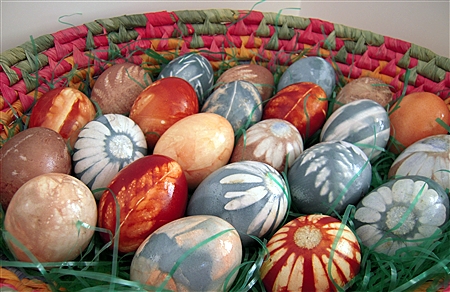
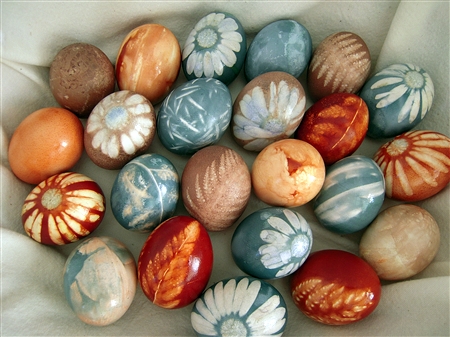
And, if you'd like to be a little more health conscious and avoid the artificial dyes, you may want to consider using one of these natural dyes to color your eggs this year!
This was a little time consuming, but it was one of those projects that was so much fun because the end result is somewhat of a surprise. It reminded me of how I always feel when I open up my kiln after a glaze firing. It's like Christmas! The anticipation almost kills me every time. When I had more time for ceramics, I would almost always find a way to incorporate some leaf or flower impressions in most of my projects. In my wall tiles and mosaic tiles, I've used a lot of the same leaves and flowers that I used for this project.
Alright, sorry I'm rambling about ceramics; let's get back to the Easter eggs. This was my first experiment in making natural dyes so I was winging it a bit and didn't have any idea of how these would turn out. I looked over a few recipes online but didn't use one in particular, just the basic method, so let's get started.
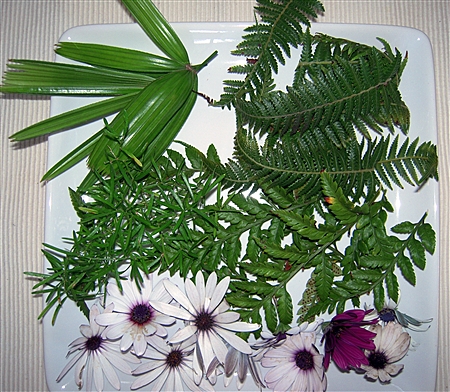
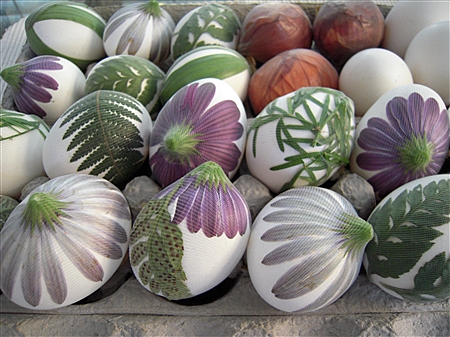
First, gather your leaves, flowers or stickers that you plan to use for this project. Here's what I used.
Next, depending on which variation you want to make, you'll use one of these.
1 head of Purple cabbage (If making the blue eggs.)
Yellow onion skins (I used the skin from 3 onions for this rust color.)
1 bag of fresh cranberries (For the disappointing brownish color.)
Whichever color you decide to make will determine the size of your pan. Obviously the whole head of purple cabbage will take a larger pan than if you use one of the other two ingredients.
Once you decide which color you are going to make, use the appropriate size pan. But, before you add the vegetable or fruit to your pan, place an egg in the pan and fill it with enough water to cover the top of the egg by at least an inch. Then remove the egg. Don't add more water. If you use too much water, the color of the dye will end up being too diluted.
Place the sliced cabbage, onion skins, or cranberries into the pan and boil for thirty minutes, covered to minimize evaporation. Allow water to cool slightly, and then strain contents over a bowl, pressing pulp to remove any remaining liquid.
Rinse the pan, pour in dye water, cover, and return to low heat to keep warm while preparing eggs.
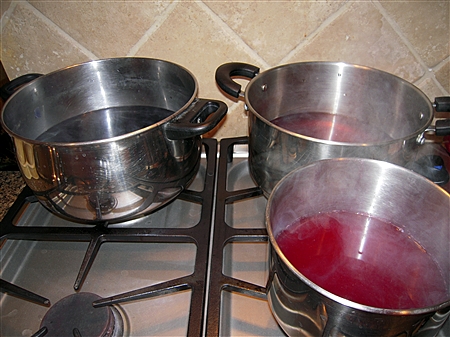
Here are the natural dyes all strained and waiting for the eggs.
Next, you'll want to gather a few more items.
Vinegar
Scissors
Pantyhose
Twist ties
Slotted Spoon
Paper towels
Vegetable oil
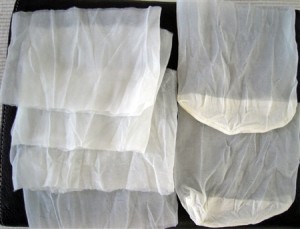
Now, cut the pantyhose into 4 inch pieces.
(Some instructions I saw said that you needed to buy several pairs of knee highs and just use the toes, but I just bought two 99 cent pair of pantyhose, cut them into pieces and it worked fine.)
Now for the fun part.
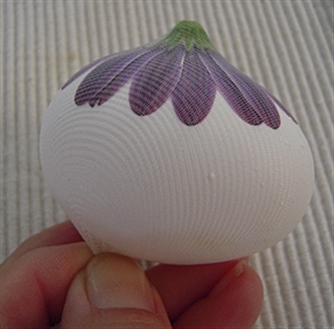
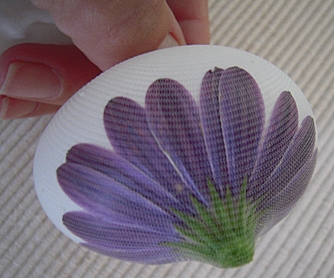
One at a time, place leaves, flowers, or stickers on the egg as desired. Some of the plant materials will stick better if you dip them in water first.
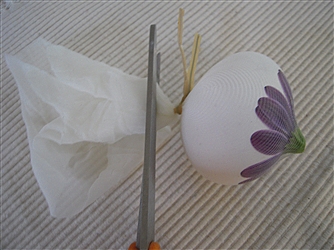
Place the egg in your hand, and gently place the egg inside the hose, make sure your design is still how you want it, and then pull the hose securely it the back and secure with a twist tie. (I thought this was easier than trying to tie in a knot while holding everything in place.)
Trim the excess hose from the back.
Repeat with remaining eggs.
Return dye to a gentle boil and stir in vinegar. I used 4 T. for the purple cabbage and 3 T. for the onion skins and cranberries since they were in smaller pans.
Here are all my eggs ready to go into the dye.
Gently lower the eggs into the pan and boil for 30 minutes. Turn off heat, cover, and let stand for 2- 3 hours, or until desired color is obtained.
Remove eggs with a slotted spoon and place back on egg carton to cool slightly.
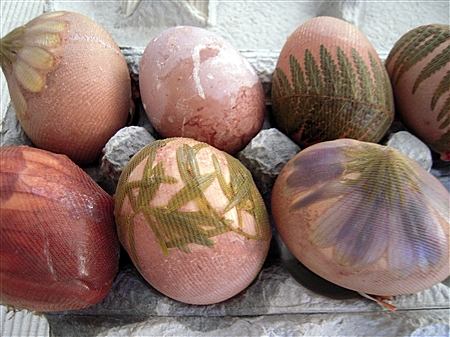
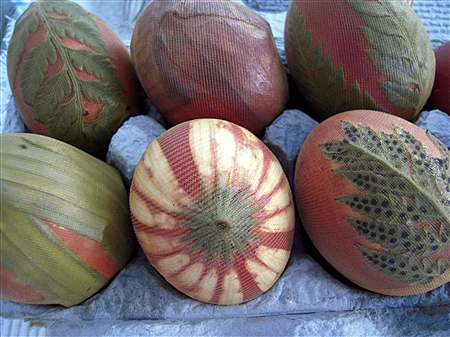
Here's what they look like after you've taken them out of the dye.
Carefully untie the twist tie or cut the hose and unwrap eggs. Carefully pull off and discard any remaining plant materials or stickers.
I let mine sit for an extra 5 or 10 minutes after I unwrapped them just so they could cool a bit more.
Dampen a paper towel lightly with oil and buff eggs until shiny. Remove excess oil with clean paper towel.
Be very careful not to wipe too hard as some of the dye might come off.
Like I said before, this project was pretty time consuming, but it was so much fun for me! I feel like I got my creative juices stirring again. 🙂
A few notes:
I kept one egg without any decoration to put in each dye color and I didn't care for any of those three at all.
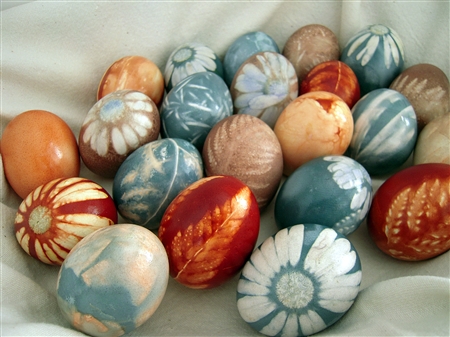
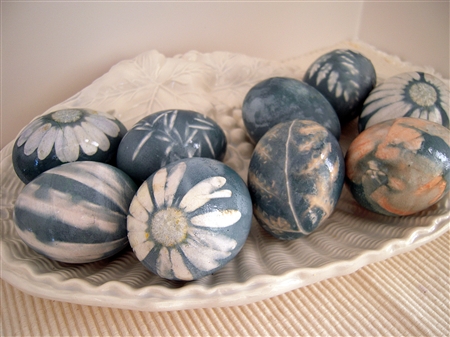
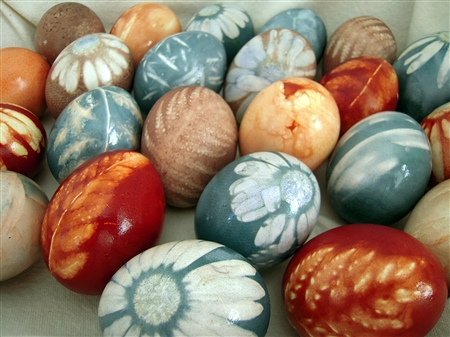
I used just plain yellow onion skin on one egg in each dye color and a couple of those made some beautiful marbling. The one with the onion skin in the purple cabbage dye was probably my favorite. It had a gorgeous brownish-blueish marbling effect.
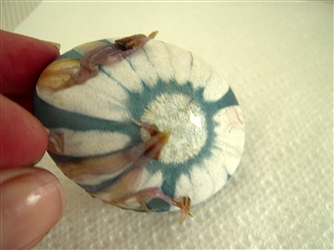
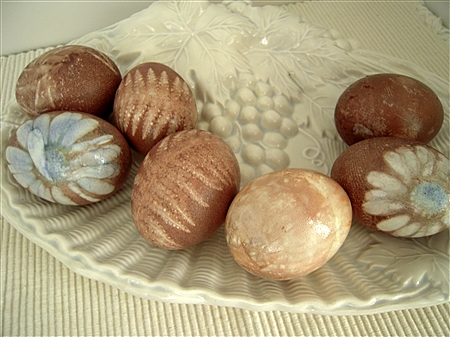
I wasdisappointed in the brownish color that I got from the cranberry dye, but on one egg where I used a purple flower, it gave off a beautiful blueish color in the center of the white flower. I don't think that I would bother using cranberry again for this project. I was expecting a purplish color, not brown.
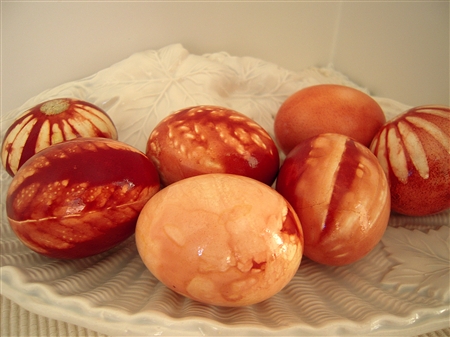
The dark rust color from the onion skins is probably my favorite. And this dye didn't even need to sit for two hours before it intensified in color. You could probably even take these out after 30 minutes or so.
I just love this method of using the leaves and flowers for contrast in color on these eggs. I'm already thinking of ways to use this for another project.
I should have posted this sooner, but I hope you give these a try if you have a little time before Easter!
- Leave a Comment (176)
- Find more in Holidays, Easter, Natural dyes

