December 18, 2011
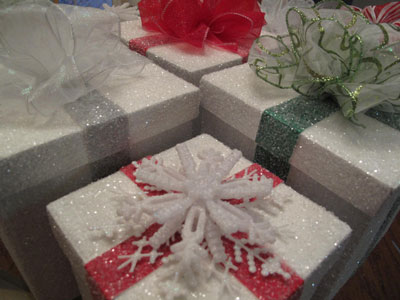
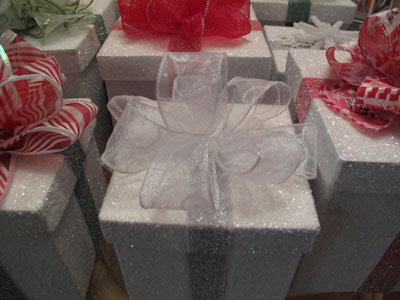
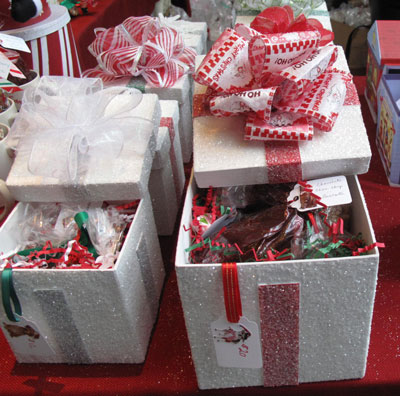
One of the things I made for the Charity Bake Sale for In-Sync Exotics was a set of glittered paper mache gift boxes. After they were finished, I filled them with paper shred and loaded them up with cookies.
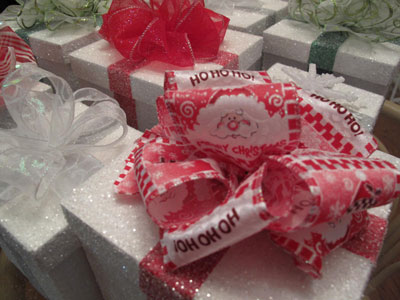
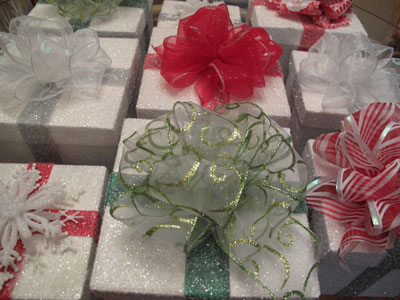
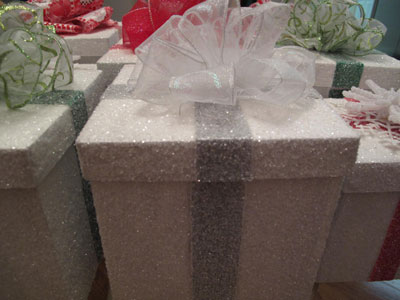
They look like they’re covered in sugar or snow, don’t they? There is still time for you to make them for Christmas, so let me show you how easy they are to do.
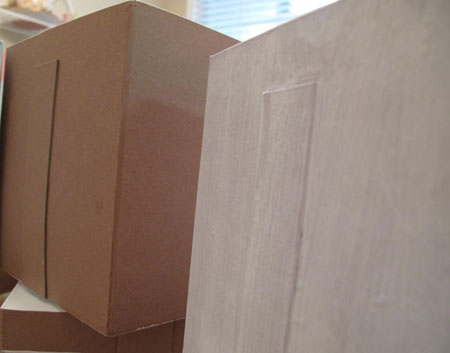
First, make a quick trip to the craft store for the paper mache boxes. Mine happened to have the ribbon design as part of the paper mache, but if you can’t find this style, a plain box would work fine too. I found 3 sizes of this same style. The largest one was a bit bigger than I wanted so I got the smaller 2.
You will also need craft paint in white and colors, white craft glue, glitter and ribbon. You probably already have those items laying around from other projects.
The first step is to remove any price tags or other labels that might be on your box. Mine also had a hideous cardboard bow on the top that I pulled off. Once you have a smooth surface to work with, cover the entire box and lid – inside and outside – in a base coat of white paint. You don’t want that cardboard brown color showing through your sparkly glitter.
I added a second coat of white to the inside of the box and lid, and the bottom of the box since those areas wouldn’t get glittered, and I wanted them to look nice and not streaky. Let the paint dry completely.
Next, I painted the ribbon design with one coat of a contrasting color paint. I chose silver, red and green since I was doing Christmas boxes, but you could do any color. These don’t have to be just for Christmas, but you might have an easier time of finding the boxes at Christmastime. Let the contrasting paint dry.
Here comes the fun part! Working with just one side of the box at a time, add an even layer of craft glue with a foam brush, and then heavily sprinkle/pour on the glitter and gently tap off the excess. Work your way around the box, being careful not to damage any wet freshly-glittered areas as you go. Do the same with the lid. Allow the glue to dry overnight or until it is completely dry. Don’t worry if a little glitter falls off as you touch the boxes; that’s normal.
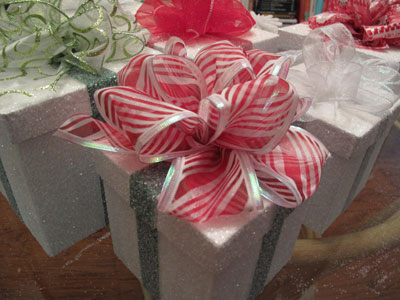
When your boxes are absolutely dry, you can add a pre-made bow or ornament to the top, or make your own bows as I did. I also used a dollar store snowflake ornament on a couple of mine for fun.
I went to a bow-making class at Container Store a few years ago, but I needed a refresher. I found their Gorgeous Gift Presentation pdf on their web site, and it includes bow-making instructions with photos.
You just start with wired ribbon and follow the directions for the type of bow you like. I’m not a pro, but it’s a pretty fun little holiday exercise. When you’re satisfied with your bow, hot glue it to the top of the box and you’re done! Voila and ta da!
Fill your boxes up with baked goodies as I did, or with any other gift. Your recipient will love it and think you’re uber crafty!
- Leave a Comment (2)
- Find more in Holidays, Christmas, crafts



February 23, 20125:26 pm
Surprised no one commented here. I think that was a nice simple way to totally transform boring craft boxes into something fit for Christmas. Very cute 🙂
February 24, 20126:31 pm
Well, thank you, Jackie! I appreciate your comment. These were super fun to make, and I’m planning to make more next year!