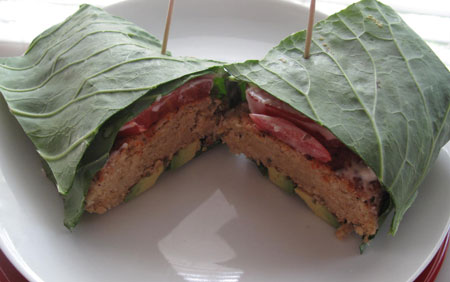
U.S. Navy Bean Burgers

May 27, 2012

Before I went vegan a couple of years ago, I had been vegetarian for over 16 years and had consumed more than my share of Morningstar Farms frozen meat substitutes. I don't really do that any more since I try to eat as few processed foods as possible and less soy, and most of the frozen veggie burgers, patties, and sausages aren't vegan anyway. I'm not really a fan of most of the ones that are vegan, so it works out.
I do get plenty of protein, thank you for wondering. 🙂 One of the ways I do that is through beans, so I was intrigued by this recipe for a burger made with white beans. It's from one of my cookbooks called The Complete Guide to Vegan Food Substitutions by Celine Steen. It's a fabulous little cookbook that I've glanced through several times, but this is the first time I've made anything from it.
Celine calls this recipe White Bean Cutlets, and says you can use any white bean. In honor of Memorial Day, I made this with navy beans, and am proclaiming it the U.S. Navy Bean Burger!

This is my own little tribute to my nephew and niece-in-law who are serving in our Navy right now. At this minute, they are separated from each other and from their little baby boy, so a big thank you and God bless you goes out to them.

Now for the burgers…

Navy Bean Burger

U.S. Navy Bean Burgers (vegan, soy-free, corn-free)

1 15 oz can navy beans, drained and rinsed
1 tblsp minced garlic
1 tblsp dried parsley
1/2 tsp paprika
1/2 tsp Beau Monde
1/4 tsp ground pepper
1/4 cup olive oil
1 cup panko bread crumbs
Oil for sauteeing

In a large mixing bowl, combine the beans, seasonings and olive oil. Mash all together with a fork until few whole beans are seen. Add in the panko and mix together well. Let the mixture sit for 20 minutes.

Divide the mixture into 4 equal portions, and shape into burgers. Saute in a small amount of oil over medium heat for 4 or 5 minutes per side, until golden and crispy on the outside.

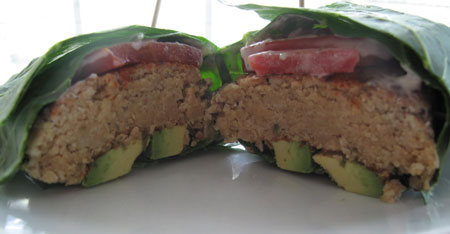
 Navy Bean Burger Closer

I loved these burgers! You can tell how quickly the recipe comes together. In literally 30 minutes (including sitting time) you can have dinner on the table. You've also spent maybe $2 on entrees for 4 people. You can't even do that at Taco Bell!

My cooking style is usually pretty spicy with big flavors, so this mild flavored burger was a departure for me, and I was surprised by how much I enjoyed it. The recipe lends itself to a wide variety of variations. I think you could add some cooked chopped mushrooms to the mixture, along with any spice combination you like. I followed Celine's recipe pretty closely this first time, just subbing Beau Monde for celery salt, and omitting 1/4 cup of water I didn't need.

So how do you serve these? I'm not big on bread these days (these already have bread crumbs in them too), so I'm into making collards wraps with anything I'd put in a sammie or on a bun. The bean burgers are delicate in flavor, almost like a fish would be, so I added some Veganaise tartar sauce to my wrap, along with avocado and tomato. With a sprinkle of salt and a dash of Frank's Red Hot Sauce, this is a delicious, quick, inexpensive, and healthy lunch for 4.

I'll be back tomorrow with another Memorial Day vegan burger that's the polar opposite of this one. Did I like it as much? Hmmm…we'll see!
~BigSis

Spinach Turkey Burgers

May 25, 2012

It's hard for me to wrap my brain around the fact that Memorial Day is just a couple of days away.  In celebration of  the upcoming holiday, this weekend will be filled with family get-togethers, cookouts, relaxing by the pool with friends, picnics, and trips to the lake or the beach.

Our weekend will also include lots of pre-Senior Prom picture taking. 🙂

No matter what you're doing this weekend, I'm sure there's some grillin' goin' on! What are you having? Brisket? Hot dogs? Burgers? A little bit of everything?  Instead of a traditional beef hamburger, how about trying a healthy Spinach Turkey Burger instead?

Before you poo-poo the idea as dry and boring (like most turkey burgers), hear me out!

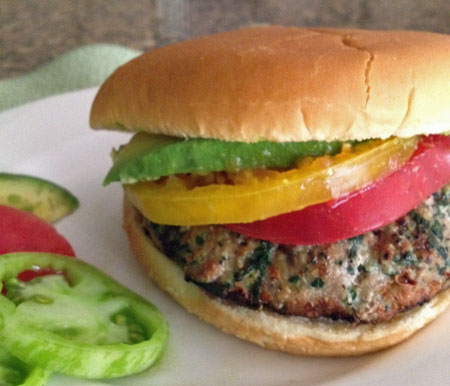
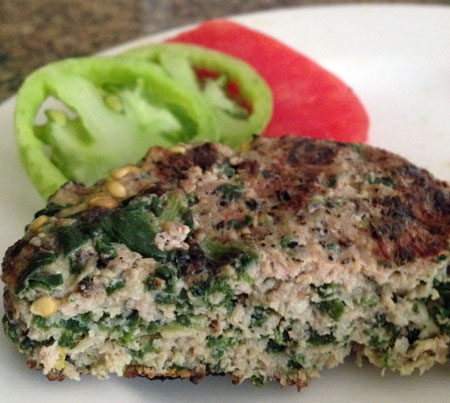
Spinach Turkey Burger

I'm the first to admit that I love sinking my teeth into a fat, juicy, double bacon cheeseburger but, since I'm trying really hard to eat healthier, I've eliminated almost all beef. We may make a pot roast on a cold day or grill a nice tri-tip for a special occasion, but other than that, we aren't eating much beef. I'm substituting turkey for beef in almost all my recipes, including spaghetti sauce and chili.
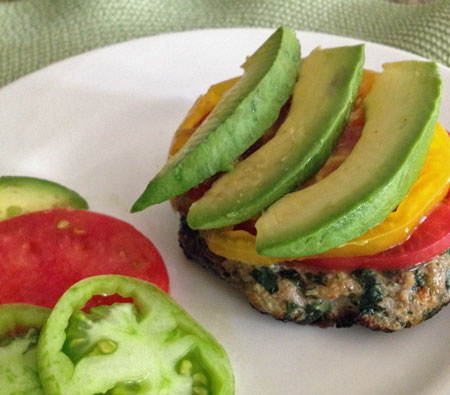
The guys had their burgers on a bun but even if I wasn't watching my carbs, I'd still rather just eat mine on a plate with tomato and avocado on the top and on the side.

Spinach Turkey Burger

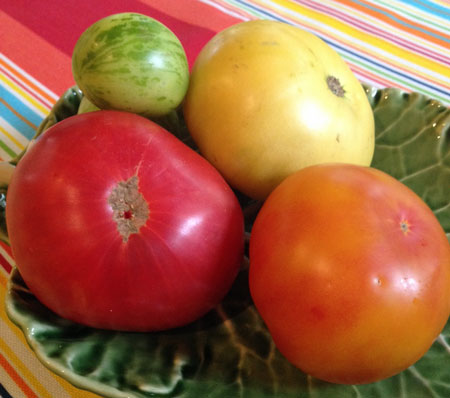
When shopping in Trader Joe's this week, I couldn't resist buying these gorgeous heirloom tomatoes. I got 2 pounds of a nice variety for a great price and they were the perfect addition to my Spinach Turkey Burgers.

Heirloom Tomatoes

I've played around for a while with different variations of turkey burgers in an attempt to come up with a tasty and juicy burger. By combining the spinach and the mushrooms with the turkey breast, these burgers stay nice and moist.

Spinach Turkey Burger

Spinach Turkey Burgers

1 1/2 lbs lean ground turkey breast
8 oz frozen chopped spinach, thawed
4 oz chopped mushrooms (I used Crimini)
1 egg
1/4 c bread crumbs
1 shallot, grated
2 cloves garlic, pressed
1 tsp Worcestershire sauce
Drizzle of olive oil
Pepper to taste
Salt to taste

Mix together in a large bowl the spinach, mushrooms, egg, bread crumbs, shallot, garlic, and Worcestershire sauce.  Add that mixture to the turkey breast and stir together with a fork just until combined.

Divide the mixture and form into patties. Before putting the patties on a plate, drizzle a little olive oil on the plate. This will keep the patties from sticking to the plate and the grill.

Grill for 4-5 minutes on each side, depending on size. Turn as soon as the burgers look white around the edges and release easily from the grill. Let rest for 5 minutes.

(Note: For 1 1/2 lbs of turkey breast, I made eight burgers, but you can make them smaller and they will cook even quicker. The most important part about grilling these is to not overcook them.)

Check back on Sunday for another healthy burger. Since this one is coming from BigSis, it'll be vegan, of course.

No matter where you are or what you're doing this weekend, be safe and have a Happy Memorial Day!

~LilSis

Armed Forces Day

May 19, 2012


Do you know what Armed Forces Day is? We didn't, until now.

According to defense.gov, this is how, why and when it originated:

President Harry S. Truman led the effort to establish a single holiday for citizens to come together and
thank our military members for their patriotic service in support of our country.

On August 31, 1949, Secretary of Defense Louis Johnson announced the creation of an Armed Forces Day
to replace separate Army, Navy, Marine Corps and Air Force Days. 

The single day celebration stemmed from the unification of the Armed Forces under the Department of Defense.

If BigSis and I are being completely honest, we never knew nor could possibly understand the sacrifices that military families make on a daily basis until we had a family member in the U.S. Military. Unfortunately, we now know how hard it is to say goodbye to family, even if it's only temporary.

(To my lovely, brave daughter-in-law, who also serves in our U.S. Navy; if you're reading this, I know that being away from your hubby and your sweet baby is the hardest thing you've ever had to do. I want you to know how proud we are of you and how much we appreciate all you do for all of us. We miss you!)

We both want to take this opportunity to thank every Veteran, every family member of a Veteran who has lost their life while serving our country, and every single man and woman who serves in our U.S. Military today.

We appreciate and respect the daily sacrifices that each individual and their family makes to protect every one of us individually and our country as a whole.

Last year on Memorial Day, I mentioned Operation Appreciation that was held here at the Oceanside Pier in honor of Military Appreciation Day. My son who is in the U.S. Navy participated in a demonstration that day and I was so excited to finally be able to see just a little bit of what he does when he's on the job. Here's a photo of him in action during that demonstration.

This was a proud moment for me.

And the day I saw him graduate from the U.S. Navy was one of the proudest days of my life.

Our family couldn't be more proud of what he and his wife have accomplished during the past two years.

Again, thank you all from both of us.

Thank you for your service and for your sacrifice!

~LilSis

Happy Mother’s Day!

May 13, 2012

Florist lolcats Mothers Day

Whatever your heart desires, we wish it for you today.

Happy Mother's Day!

~BigSis

Super Simple Chicken Enchilada Casserole

May 5, 2012

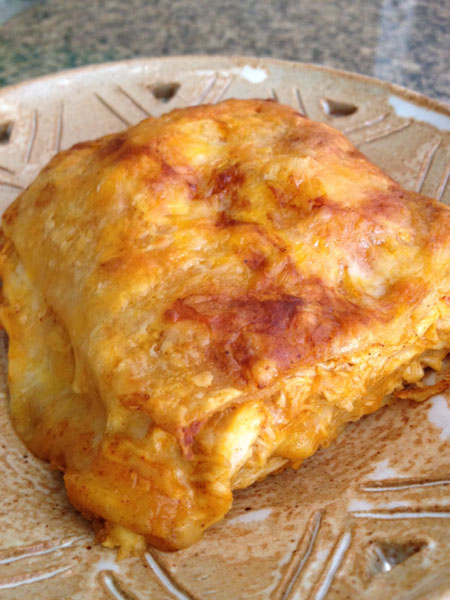
Super Simple Chicken Enchilada Casserole

If you still haven't decided what you'll be making for your Cinco de Mayo dinner tonight, here's a super simple Chicken Enchilada Casserole recipe that I make quite often for my hungry guys. And, if you happen to be hosting a party, I promise you that this one is always a crowd-pleaser.

Super Simple Chicken Enchilada Casserole

4 chicken breasts (boiled and shredded)
1 lb. grated cheese (I use a 3 cheese blend)
8 oz. sour cream
1 bottle enchilada sauce
1 pkg. corn tortillas, cut in half

Put a few spoonfuls of the sauce on the bottom of a casserole pan. Line the pan with tortillas. Mix together the sour cream, chicken, and almost all of the sauce. (Save a little sauce for later.)

Layer half of the chicken sauce mixture, then cheese, then tortillas. Finish with the last half of chicken sauce mixture, cheese, and tortillas. Drizzle the remaining enchilada sauce on the tortillas and top with more cheese.

Bake in a 350 degree oven for 20 minutes or until cheese melts.

This is one of those recipes that you can very easily adapt to your liking. I've added green chilies to the chicken mixture a few times and I usually put sliced black olives on the top with the cheese. You could also add chopped bell pepper, onion, or any favorite veggie to this casserole.

I got the original recipe for this casserole from Trader Joe's years ago and it called for their canned chunk white chicken instead of the boiled chicken. So, if you don't have the time to boil the chicken, you can use a good quality canned white chicken and it still turns out very good. I made it that way originally but my guys wanted more chicken so if I have the time, I prefer to boil and shred chicken breasts or chicken tenderloins.

Even if you don't make it for Cinco de Mayo, this is a great everyday “go-to” chicken casserole that you can put together and have on the table in no time at all!  Serve with some chips and salsa or guacamole and a salad and you've got dinner!

Happy Cinco de Mayo! 

~LilSis

Mexican Wedding Cookies: Chocolate and Vegan!

May 4, 2012

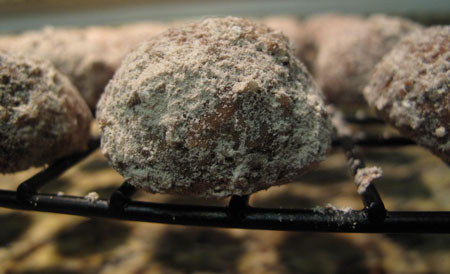
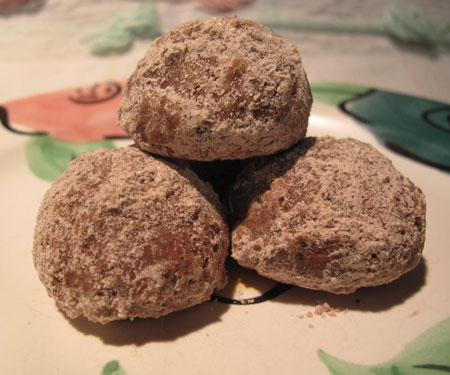
Mexican Wedding Cookie Close

Do you remember Mexican Wedding Cookies? When we were kids we also used to call them Snowballs or Almond Crescents. They were essentially the same recipe: flour, butter, powdered sugar and chopped pecans. We rolled them into small balls or crescent shapes, baked them, and then rolled them around in more powdered sugar.

Mexican Wedding Cookie 3

I've always loved these cookies. They're tender, crumbly, gently nutty, and powdery sugary, but just barely sweet and perfectly bite-size!

When I was thinking about baking something sweet for Cinco de Mayo, I thought of Mexican Wedding Cookies. With a twist. How about a touch of chocolate? And cinnamon. And almonds. And vegan, of course. Done.

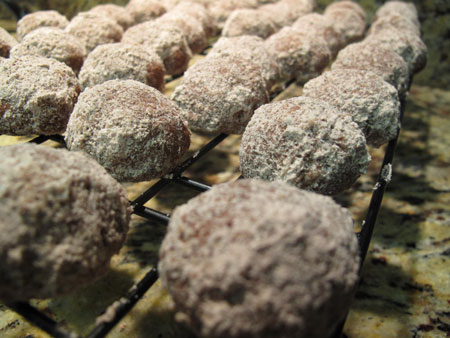
Mexican Wedding Cookie Rack

Chocolate Mexican Wedding Cookies (Vegan)

adapted from Williams-Sonoma

2 sticks Earth Balance, at room temperature
1 1/4 cups powdered sugar (divided usage)
1 tsp vanilla extract
1/4 tsp salt
1 3/4 cups less 1 tblsp all-purpose flour
2 tblsp cocoa (divided usage)
1 tsp ground cinnamon
1 cup ground blanched almonds

In a large bowl, using an electric mixer, beat the Earth Balance sticks until fluffy. Add 1/2 cup of the powdered sugar and continue beating until light and fluffy. Reduce the speed to low, add the vanilla and salt, and beat until blended.

Sift together the flour, 1 tablespoon of the cocoa and the cinnamon. Add the flour mixture to the Earth Balance and beat on low speed or stir with a wooden spoon just until blended. Stir in the almonds. Cover and refrigerate until the dough is chilled but not hard and is no longer sticky to the touch, about 15 minutes.

Preheat the oven to 350°F. Sift the remaining 3/4 cup powdered sugar and 1 tablespoon cocoa into a bowl. Add a dash of cinnamon if you wish.

Shape the dough into 1-inch balls. Place about 1 inch apart on 2 ungreased baking sheets.

Bake until the cookies are just golden on the bottom, 10 to 12 minutes. Transfer the baking sheets to wire racks and let cool for 5 minutes, then remove the cookies one at a time and roll them in the confectioners' sugar/cocoa mixture. Let the cookies cool completely on wire racks. Makes about 4 dozen cookies.

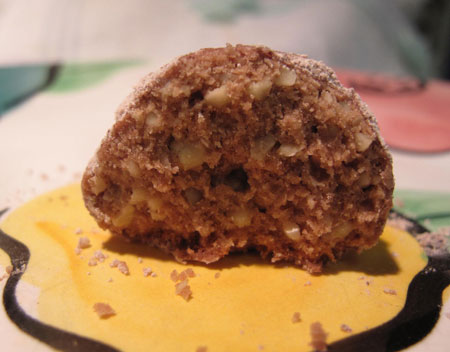
Mexican Wedding Cookie Half

I loved the delicate texture the ground almonds added…

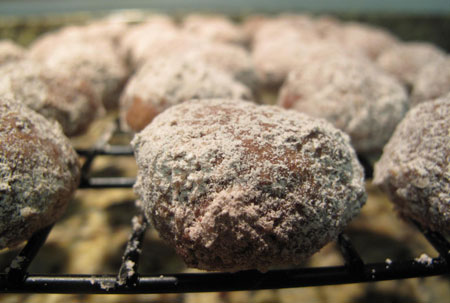
Mexican Wedding Cookie Closer

 and the slight touch of cinnamony chocolate flavor…

Mexican Wedding Cookies Rack2

I just love these cookies!

Happy Cinco de Mayo and happy baking!

~BigSis

Red Chile Posole: Quick and Vegan

May 2, 2012

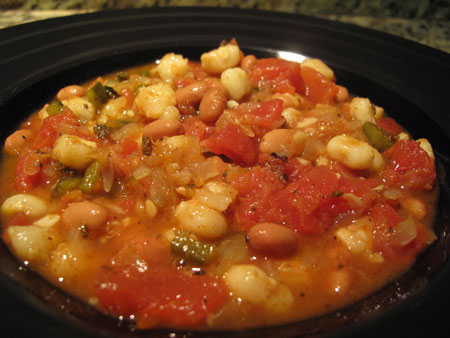
Red Chile Posole

We talk all the time about our love of Mexican food, and we don't need ANY excuse to indulge. This weekend is Cinco de Mayo though, and I'm inspired to get in the cocina and rattle some pots and pans instead of just heading to the nearest tacqueria and trying to find something without meat, lard or cheese.

One of my favorite everyday go-to quick meals is Super Speedy Mexican Stew. It's essentially just canned tomatoes, corn, kidney beans and green beans with any spices that strike me. It's not fancy and I can't really even call it cooking; it's just decent food on the table and in my tummy in literally 15 minutes on a weeknight.

My new go-to Mexican veggie stew when I have a touch more time is Terry Hope Romero's Quick Red Chile Posole from Viva Vegan!: 200 Authentic and Fabulous Recipes for Latin Food Lovers.  This is the first recipe I've tried from Terry's book, but it won't be the last.

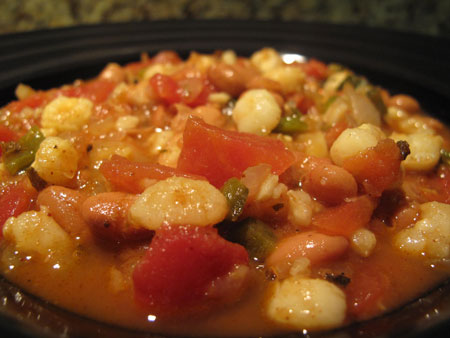
It takes my simple little dish and turbo-charges it with flavor. It has a tomato base and includes a can of pinto beans and a can of white hominy. I just learned that the hominy is what makes it “posole”.

There's magic though in the combination of onion, garlic, poblano pepper, chile powder, mexican oregano, cumin and lime. I followed the recipe precisely, and was really amazed at how tasty this little stew was after just 25 minutes of simmering.  It's warm, spicy, creamy, chunky and bright…all at the same time.

Red Chile Posole Close

Traditionally, you would top the posole with a variety of garnishes: onion, cabbage, tomato, radishes, cilantro, or tortilla chips. I initially thought I would add a pinch of Daiya pepperjack shreds, a dollop of vegan sour cream and some avocado.

After just one bite of the posole I decided that it needed nothing…except to be devoured. Quickly. So I could refill my bowl, and repeat.

I'll definitely add this dish to my rotation and hope you'll give it a try for Cinco de Mayo or any old time!

~BigSis

Favorite Cinco de Mayo Recipes

April 30, 2012

I cannot believe that tomorrow is already May 1st. I knew this year would fly by since it's our baby's Senior year but the past four months are almost a blur. Before we know it Summer will be here, which happens to be my favorite season; but I don't want to get ahead of myself. Let's talk about Mexican food.

If we've said it once, we've said it a million times, we sisters LOVE our Mexican food! Whether I'm visiting in Dallas or BigSis is here in San Diego, we always treat ourselves to Mexican food at least once every day! (It's impossible for us to ever get enough chips, salsa, guacamole and nachos.)

As most of us know, this Saturday is Cinco de Mayo, the official Mexican food eating holiday.  We thought this would be a great time to share with you some of our favorite recipes that are perfect for a Cinco de Mayo party or if you're just cooking for family or friends.

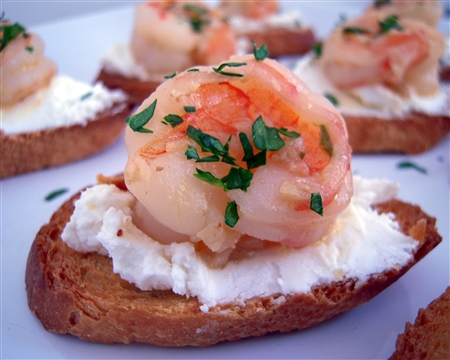
Cinco de Mayo Shrimp with Garlic and Chili Pepper

Shrimp with Garlic and Chili Pepper

Cinco de Mayo Roasted Garlic Dressing with Green Chili

Roasted Garlic Dressing with Green Chili

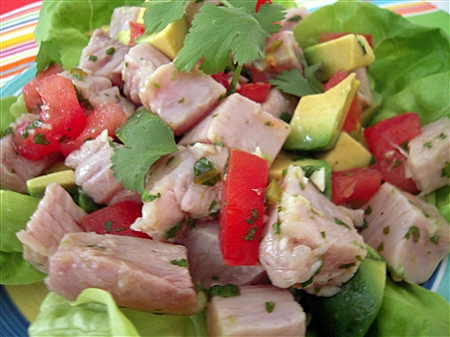
Cinco de Mayo Ceviche Salad

Ceviche Salad with Avocado, Cilantro, and Green Chili

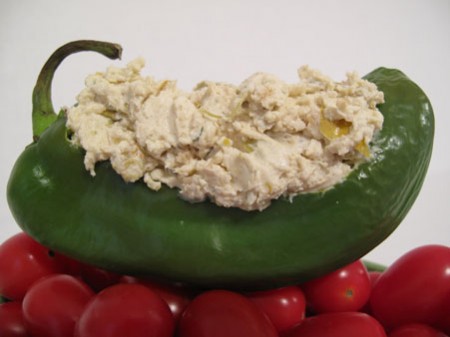
Cinco de Mayo Hatch Green Chile and Garlic Goat Cheese

Hatch Green Chili and Garlic Goat Cheese

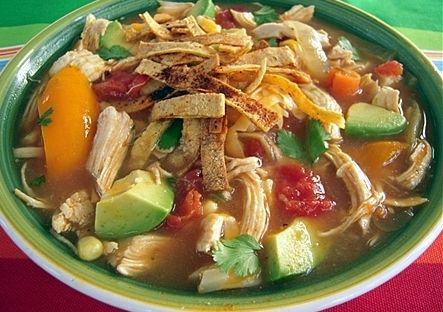
Cinco de Mayo Classic Tortilla Soup

Classic Tortilla Soup

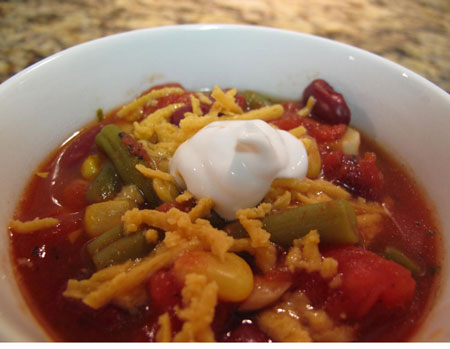
Cinco de Mayo Mexican Vegetable Stew

Super Speedy Mexican Vegetable Stew

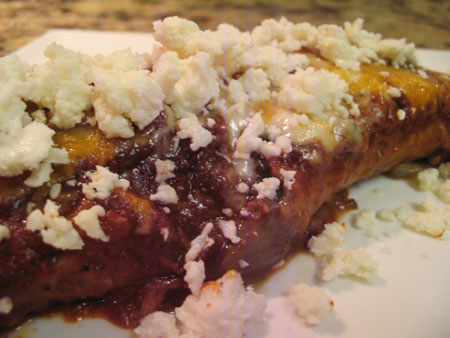
Cinco de Mayo Spinach Mushroom Enchlada

Spinach Mushroom Enchilada

And we can't forget about a little something for dessert!

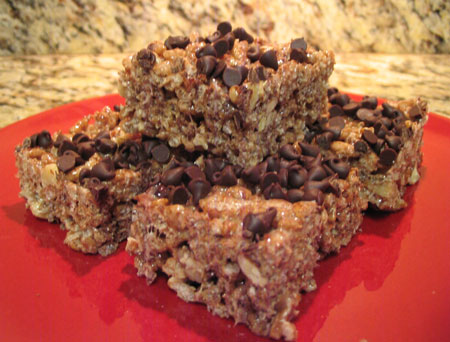
Cinco de Mayo Mexican Chocolate Rice Krispies

Mexican Chocolate Rice Krispie Treats

We're both busy in our cocinas trying to whip up a couple of new dishes; so if all goes according to plan, we'll be back in a day or two with a few more ideas for your Cinco de Mayo menu. 🙂

~LilSis

Silk-Dyed Easter Eggs

April 7, 2012

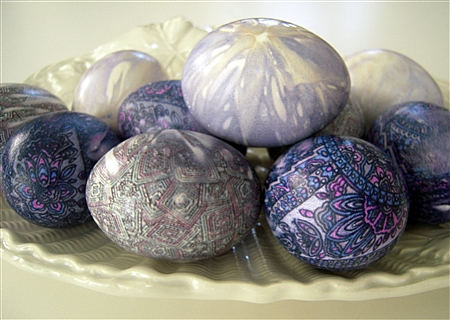
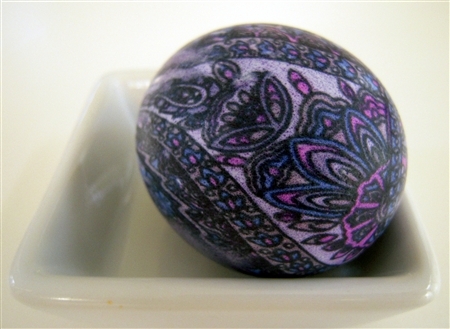
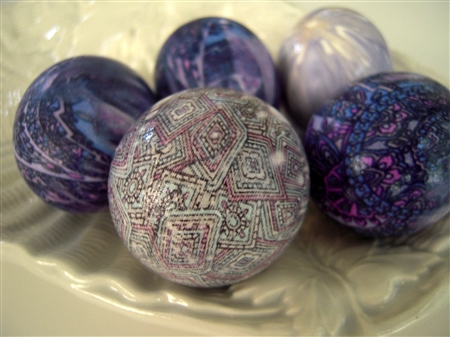
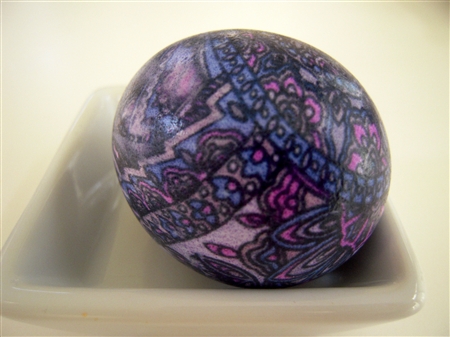
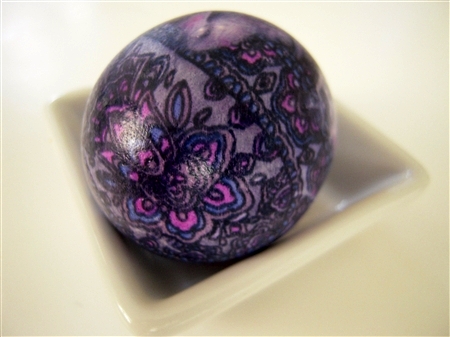
Silk Dyed Easter Eggs

I had so much fun with my Natural Dye Colored Easter Egg project  last Easter so I decided to try something different again this year.

Before I started these, I watched an instructional video on Martha Stewart and I also browsed online a little bit just checking out some other tutorials on how to make these Silk Dyed Easter Eggs.

I loved the gorgeous eggs from Our Best Bites so I suggest checking out their site for step by step instructions.  Each and every one of their eggs are beautiful! I didn't have as colorful silk as they used but I'm still pretty happy with my results.

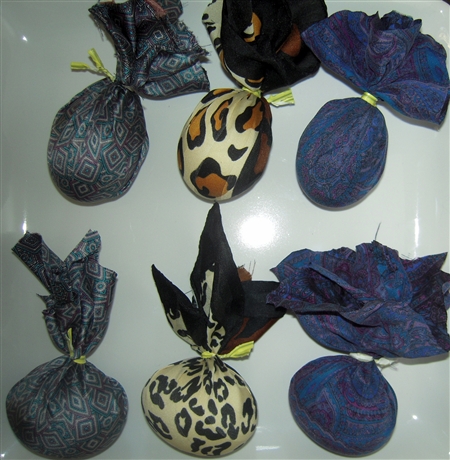
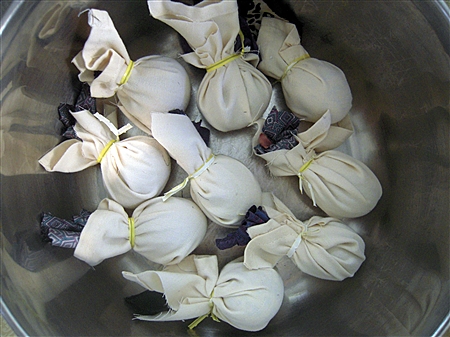
I didn't take the time to photograph each step but these are really easy to make. Here's a photos of a few of the eggs after they were wrapped in the silk squares. I tied the twist tie at the top of some and on the side of some depending on the pattern of the silk.

Next, wrap the eggs in some kind of white fabric; an old pillowcase or napkin works perfect. This step can be done at the same time when you wrap the silk around the egg, but I wanted to make sure the silk was really tightly wrapped around the egg, so I wrapped in the silk first, then the white fabric.

Here are the wrapped eggs in a big stock pot ready to be covered in water. Just cover with water, add 1/4 c. vinegar, then boil at a slow boil for about 20 minutes.

Silk Dyed Easter Eggs

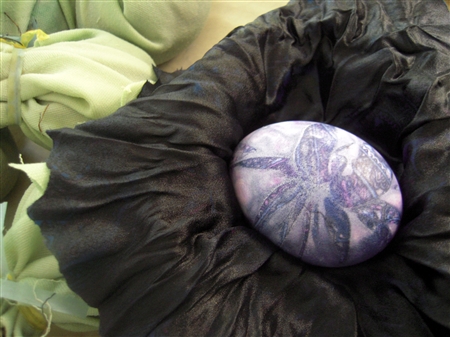
Let them cool a few minutes and then you're ready to unwrap. This was the best part; like Christmas morning. 🙂

Silk Dyed Easter Eggs

Silk Dyed Easter Eggs

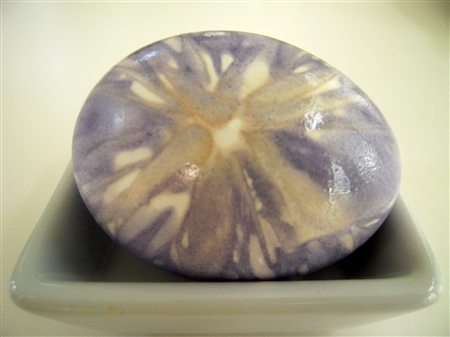
A few of these have more subtle patterns because I think the scarf I used wasn't 100% silk. That's the most important part about this process. For the pattern to transfer in detail to the egg, the fabric has to be 100% silk.

Silk Dyed Easter Eggs

This was one of the subtle patterns created by the animal print scarf that I believe was not 100% silk. (the tag was missing, so I took a chance.)

Silk Dyed Easter Eggs

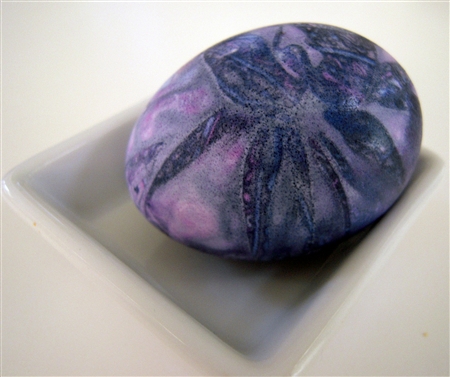
This was a random design that I thought was pretty; just made by the way the silk was tied.

Silk Dyed Easter Eggs

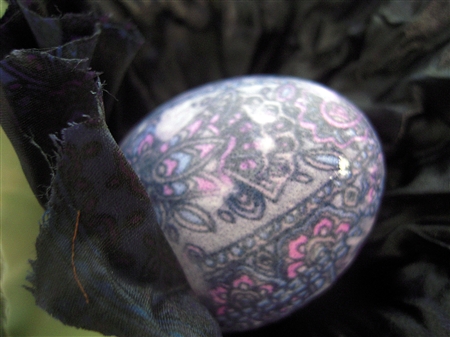
This pretty pattern was created from an old tie that I dug out of my hubby's closet.

Silk Dyed Easter Eggs

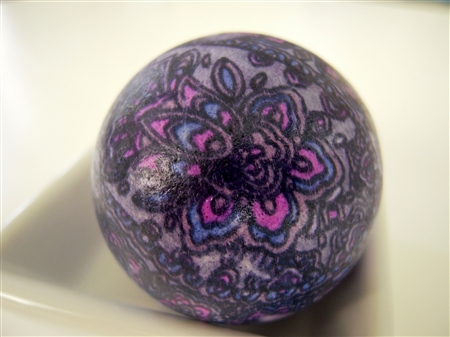
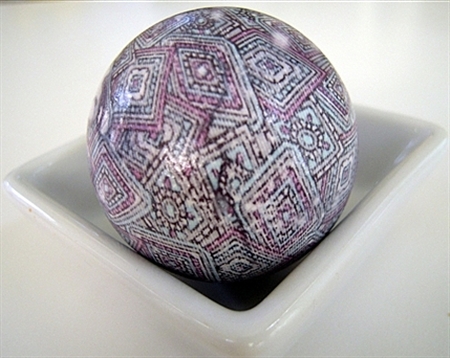
These are my favorites. They turned out the best and were actually made from an old pair of my hubby's silk boxers! (That explains why there was no ‘before' photo.)

Silk Dyed Easter Eggs

Silk Dyed Easter Eggs

Silk Dyed Easter Eggs

Silk Dyed Easter Eggs

So; be creative, have fun,

and most importantly,

have a Blessed Easter Sunday!

~LilSis

Easter Goodies Roundup

April 5, 2012

Easter sure snuck up on us this year, didn't it? Are you ready? Need a few ideas for some Easter goodies?

Both of us have had a lot going on this past month so we haven't been able to get any new Easter treats posted.

But, the good news is that we have fun recipes for cupcakes, candies, cookies, and decorated eggs that we've shared in the past that we're going to round up for you here today.

First, let's start with these adorable Homemade Easter Chocolate Candies from BigSis.

Homemade Easter Chocolate Candies

Here's a photo of the little duckies, bunnies, sheep and eggs before they were wrapped in the foil.

Easter Chocolate Candies Molded

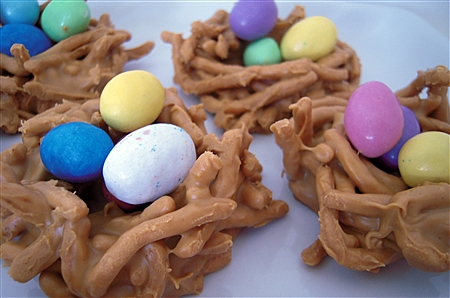
The Easter Bird's Nest Candy is an easy recipe that you can change up a bit depending on your preference. These nests were made with butterscotch chips.

Easter Bird's Nest Candy

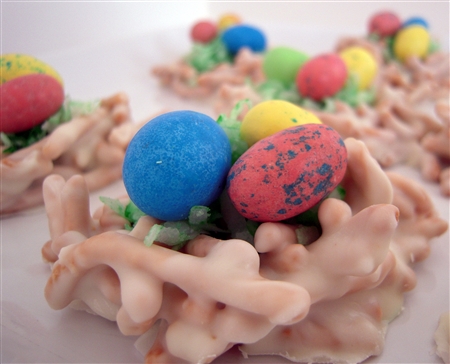
Here are a few made with white chocolate instead of butterscotch.

Easter Bird's Nest White Chocolate Candy

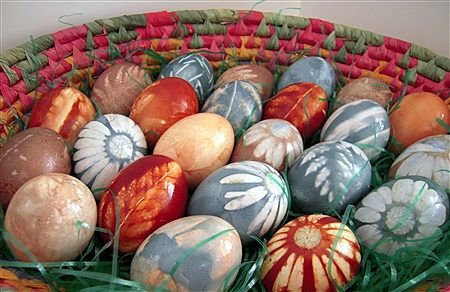
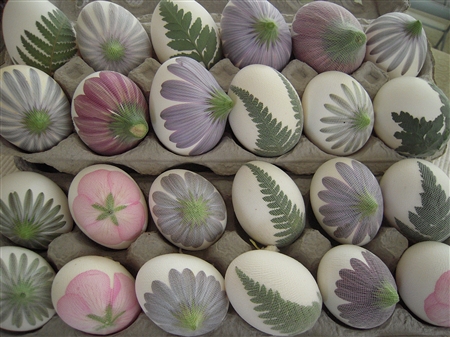
If you're looking for a different way to dye your eggs, try these Natural Dye Colored Easter Eggs that I made last year.

Natural Dye Colored Easter Eggs

Here are some of the eggs before going into the dye.

Natural Dye Colored Easter Eggs

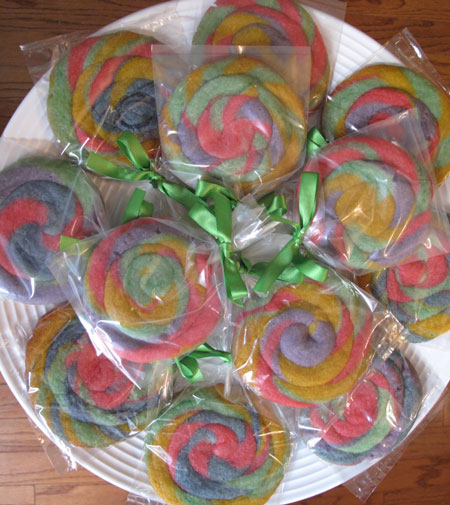
It would be fun to get the kids in the kitchen to help with these Swirled Cookie Suckers.

Swirled Cookie Suckers for Easter

These are great for wrapping in little treat bags for gifts or to add to your Easter baskets!

Swirled Cookie Suckers for Easter

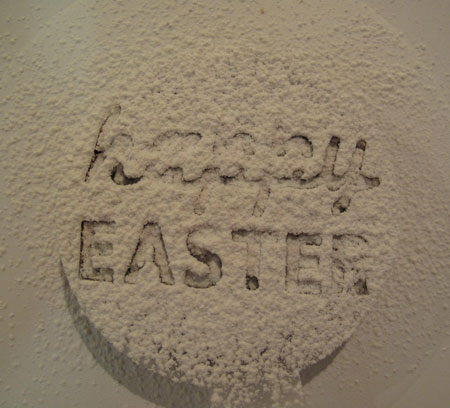
These Chocolate Snickerdoodles are perfect for making Decorated Easter Cookies.

Chocolate Snickerdoodle for Easter

Super cute and super easy with these stencils!

Chocolate Snickerdoodle for Easter

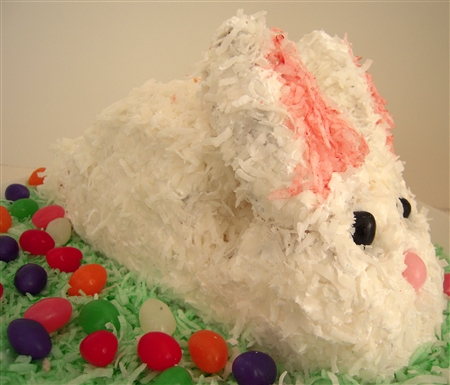
And even though my Easter Bunny Cake didn't turn out too cute, I've got step by step instructions on how to Make an Easter Bunny Cake.

Easter Bunny Cake
Here's Floppy with a different face and ears.

Easter Bunny Cake

If you were looking for some new ideas, I hope we've helped you find something that you want to try for Easter this year.

If all goes well, I'll be back in a few days to share my latest Easter Egg decorating project. (Fingers crossed.) 🙂

~LilSis