July 21, 2011
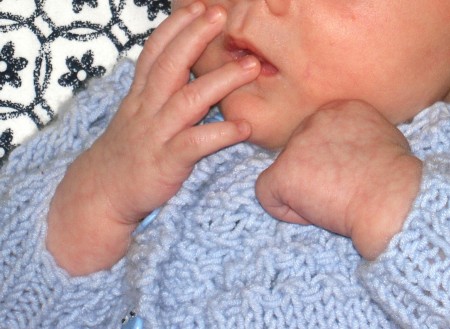
Guess who came 2 weeks early? Little Baby Jack, that’s who! He decided not to wait for his due date, and made his appearance on July 8th, so we’re all thrilled to have another sweet little boy in the family!
LilSis had a baby shower for Bry and Rach on June 1st, and we talked about all of the fun things we did for it. I had a complete blast making these fabric-wrapped letters for Jack’s room:
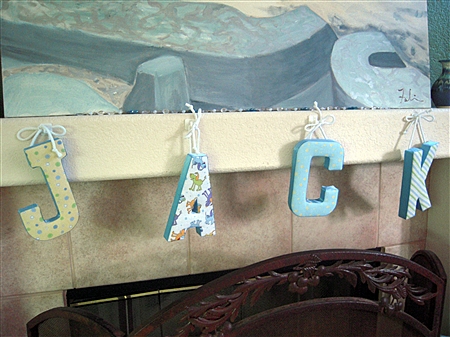
I’m not gonna lie to you though…these little dudes were tricky in parts! I would absolutely do them again, especially since I learned a few tricks of my own along the way. What kind of a friend would I be if I didn’t share them with you? Not a very good one, I’d say, so let’s get busy making some cute letters.
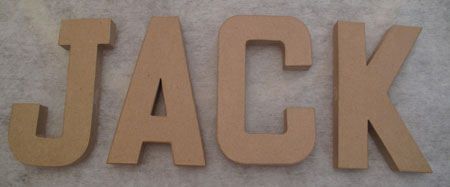
Start by choosing the name. It sounds simple since you can’t change the child’s name, but there are some things to consider. I originally planned on making Jack’s middle name too, since I love it so much. Once I really thought about it though, I realized that would add 6 more letters. Finding 4 fabrics that coordinated the way I wanted them to was challenging enough, and I think that finding 10 fabrics would have been a gargantuan challenge (aka pain in the tookus).
Besides the fabric selection issue, you also need to think about where the letters will be hung. I was thinking about “Jack” on one line, and his middle name on a line below it. But I didn’t know what his mom and pop had planned for his room, and I didn’t want to assume they’d have space for a wall hanging that large.
Decide on your color scheme as it coordinates with the child’s room. I think selecting 2 or 3 colors from his/her color palette is a good rule of thumb. If you have a sample of their existing fabrics and colors to go by, all the better.
Select your fabrics. Go a little crazy! I love mixing different patterns for a really fun combination. This is for a baby’s name, not a stuffy corporate boardroom, right? As long as each fabric has the unifying color or colors to tie them all together, they’ll work fine. Try patterns, polka dots, stripes, plaids; whatever grabs you. I chose fabrics that all had blue, yellow and/or green in them, and opted not to use any solids.
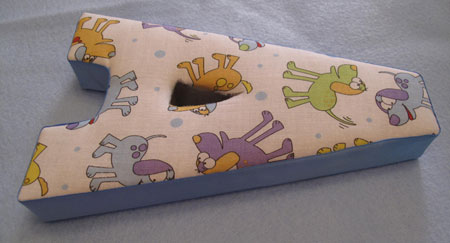
You won’t need a lot of fabric. I got half a yard of each and had plenty extra, just in case of a big boo boo. One cool thing I discovered is that a quilter’s “fat quarter” is a great size for this project and comes at a fabulous price. The doggie fabric on Jack’s “A” was from a fat quarter that I paid $1.99 for.
Assemble the rest of your supplies. Here’s what you’ll need in addition to your fabrics:
- Paper mache letters (I got my chunky ones at Hobby Lobby. They also have thinner cardboard ones.)
- Quilters batting (I like the thicker poofier batting for this project.)
- Felt (for the back of the letters; in a color that coordinates with the fabrics)
- Wide ribbon (for the sides of the letters; choose a color that works with all of the fabrics)
- Thin ribbon or rope (to hang the letters from)
- Spray adhesive (to attach the batting to the letters)
- Staple gun (to attach the fabric to the letters)
- Hot glue gun (to attach the felt to the back)
- Scotch tape (for any areas the staple gun won’t reach)
- Xyron sticker maker (to turn the ribbon into a sticker)
- Pen or marker (to trace letters’ outlines on fabric and felt)
Here we go!
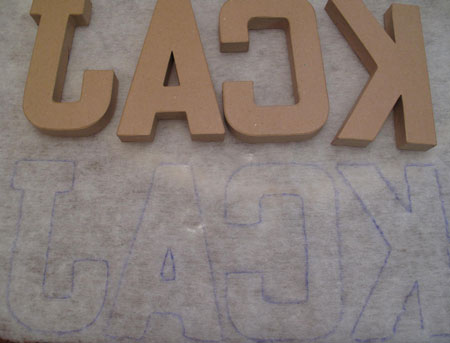
First, turn your letters upside down on the batting and trace around them. Marking on the backside of the batting reduces the chance it will show through any lighter fabrics. Go ahead and trace around the letters on the felt too while you’re at it. For the felt, trace so that the marker will be hidden when it attaches to the back of the letter.
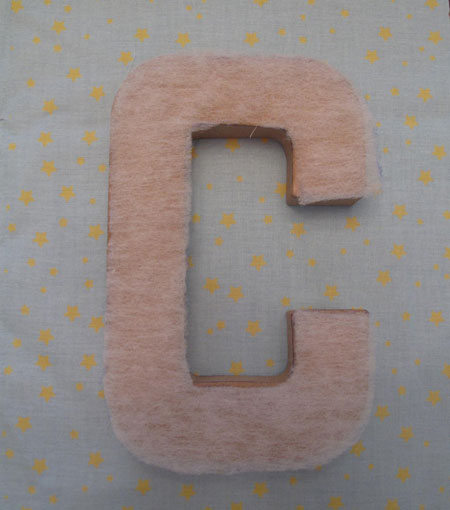
Cut out the batting and felt along your lines. Follow the directions on your brand of spray adhesive, and apply the batting to the front of the letters. Press it down lightly, and allow to dry for a bit.
Decide which fabric goes with each letter. Lay them out next to each other in different orders, so you can see which ones look the prettiest/most handsome next to each other.
Cut a piece of fabric slightly larger than the letter; I like to allow several generous inches all the way around, especially since the letters I used are so chunky.
Now comes the part that needs all your attention and a bit of patience. With the fabric right side down, place the letter face down on it. You’re going to go around each letter, keeping tension on the fabric as you pull it to the back of the letter and attach it with the staple gun.
#1, make sure your fingers are out of the way! #2, make sure the tension on the fabric is consistent all the way around the letter. I like to do the straight sides first. If you’re working with stripes or plaids, check the front of the letter as you go to make sure the pattern is straight.
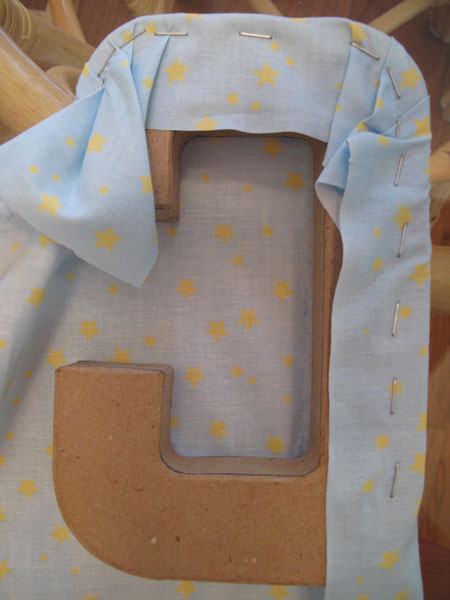
When you come to a curve, you’re going to ease in the fullness, making smooth little pleats as you go. You’ll need to snip the fabric here and there to allow it to fit smoothly. I use lots of staples on curves and take my time.
On corners, try to fold under the excess fabric as you would make a hospital corner with your bed sheets. You can fiddle with it until you get it smooth and sharp, then staple it down.
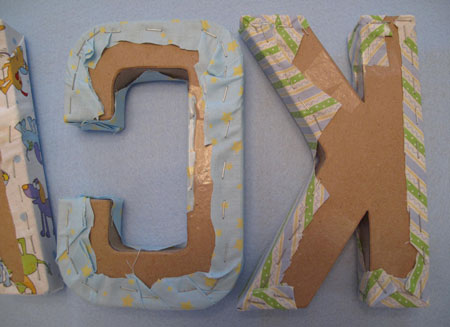
Now for the tricky part I mentioned! Some spots on these letters are a bear to do, especially if you’re a perfectionist like me! The inside of the “A” and the inside angles on the top and bottom of the “K” gave me fits. I found there wasn’t enough fabric in those spots to fold to the back of the letter, so that’s when I had to resort to bits of scotch tape.
Just remember, you want to keep the sides of the letters as smooth as you can so bumps won’t show through your ribbon, but the ribbon is going to be there to hide any remaining gaps the fabric didn’t cover.
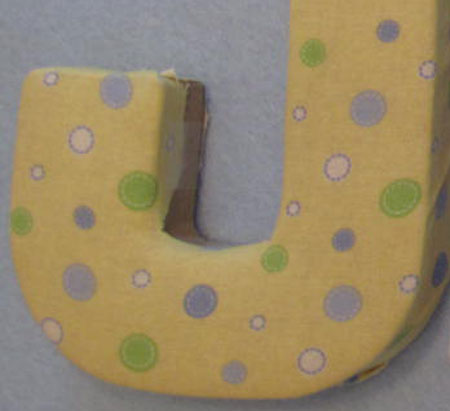
Once all your letters are covered with fabric, admire your work! The hard part is done!
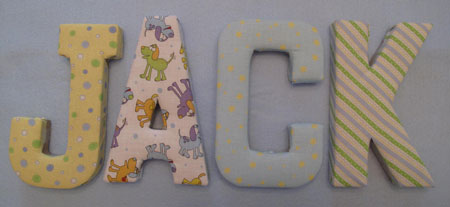
The next step is to cover the sides with the wide ribbon. My letters were thick and I wanted a ribbon that would cover the whole side, and not leave any gaps. I needed a 3/4″ ribbon. Guess what? They don’t MAKE a 3/4″ ribbon, at least not that I could find after many many craft store trips! Who knew?
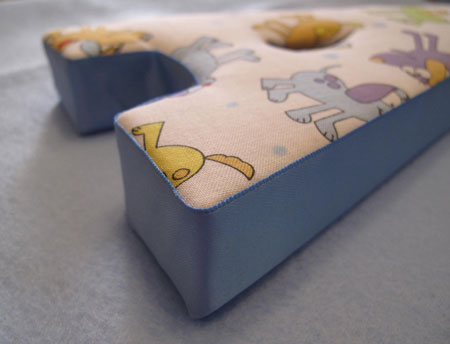
What I decided to do was buy a 1″ ribbon and wrap the excess to the back of the letter. It ended up creating a really finished edge, and I think it worked out even better than a 3/4″ ribbon would have.
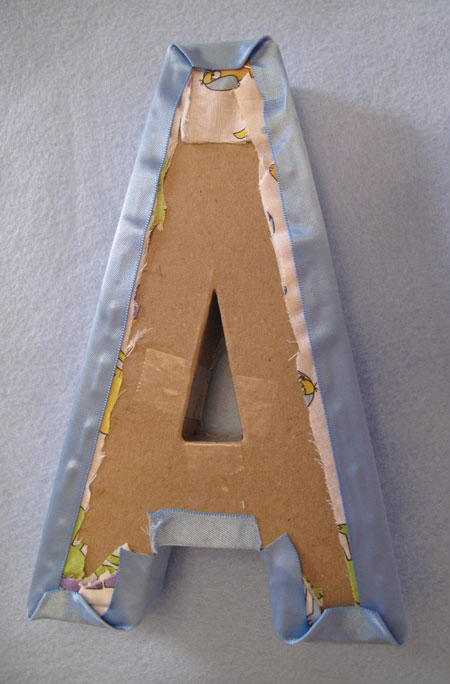
I experimented with many different adhesives and fabric glues to attach the ribbon, and couldn’t find one that would have great sticking ability but would not stain the ribbon or show through. Hot glue would leave that ugly bumpy ridge so that was out.
My solution? Run the ribbon through a Xyron sticker maker (with the permanent adhesive). It works like a charm! It sticks incredibly well with no staining, and the excess ribbon sticks nicely to the back of the letter.
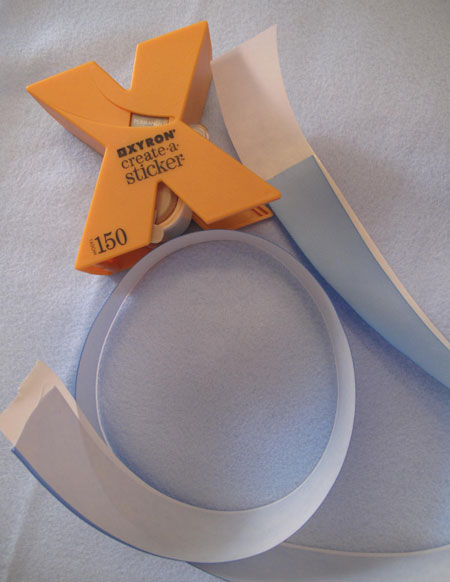
Measure the length of ribbon you need, allowing a bit extra so you don’t come up 1/4″ short! Run it through the Xyron, peel off the backing, and start applying to the sides of the letters, beginning in the most hidden part of the letter so your seam will be as invisible as you can make it.
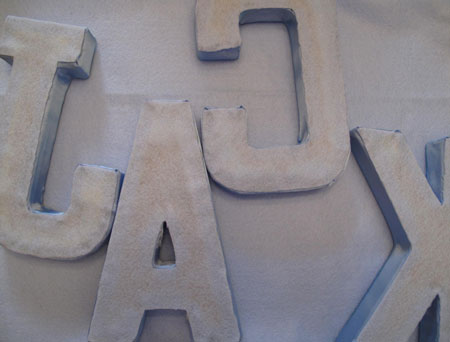
Attach your felt to the back of the letters with hot glue. I like to trim off any excess fabric before I do this, just to make the back as smooth as possible. You can add extra tape or staples to any spots that are wild. Since hot glue dries so fast, I like to lay down a small amount of glue at a time, working my way around the letter. All of your crazy mess is your secret now!
You’re almost done! The last step is to attach the ribbon or rope (or whatever you like) that the letters will hang from. I chose a thin white rope trim. To keep it from slipping out of the staple, I made a small tight knot at the end, and just attached it to the top of the back with the staple gun.
There are lots of different things you could do with these once they’re done. You can hang them from little wooden pegs like I did, or you could hang them on a curtain rod like a valence over a window. You could skip the rope (ha ha), and just stand the letters up on a dresser or bookshelf. Use your imagination!
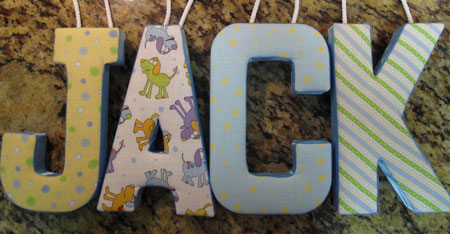
That’s it! Adorable, custom-made letters for some lucky adorable custom-made baby!

~BigSis

