March 20, 2011
You've probably seen tutorials for making adorable magnets from the flat glass marbles that are used as filler in vases of flowers. Most of the instructions I've seen involve gluing paper of some kind to the back of the marble: scrapbook paper, gift wrap, newsprint, hand-drawn images, whatever.
I think those marble magnets are really cute and easy to make, but I like to do mine in a different way. I like to paint them!
There are probably lots of ways to do this, and you can absolutely inject your own creativity. I'll show you the method I came up with, and then you can take off with your own ideas.
Let's start with the supplies you need:
- Flat glass marbles: Available at craft stores, discount stores, pretty much everywhere. I buy the clear ones because I can see my template through them, but you can also find really pretty blue, green and amber colored ones.
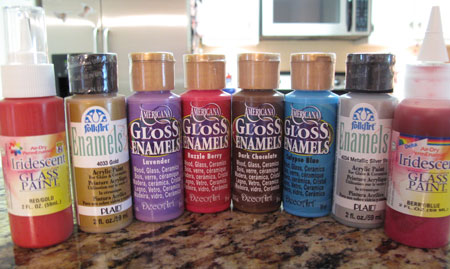
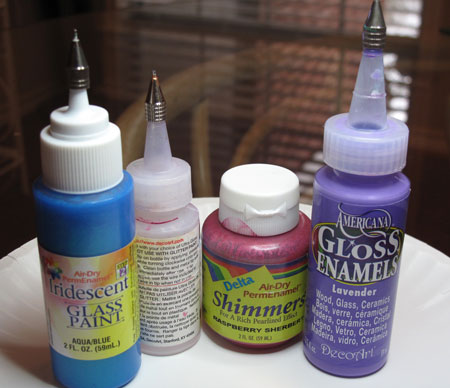
- Glass paint: I prefer the air-dry kind that doesn't require baking. I use FolkArt Enamels, Americana Gloss Enamels, DecoArt Ultra Gloss Metallics (these might be discontinued), and Delta PermEnamel. My favorites are PermEnamel Shimmers and their Iridescent Glass Paint. Delta PermEnamel is the glass paint equivalent of MAC eyeshadows: they come in jillions of colors, have great textures, apply well and look beautiful!
- Glass painting kit with tips, adapter caps and plastic bottles.
- Grid paper: To make your painting template.
- Swarovsky crystals: Find them in the jewelry-making aisle at your craft store.
- Tweezers: To apply the crystals. Just raid your bathroom drawer, don't buy special jewelry-making ones.
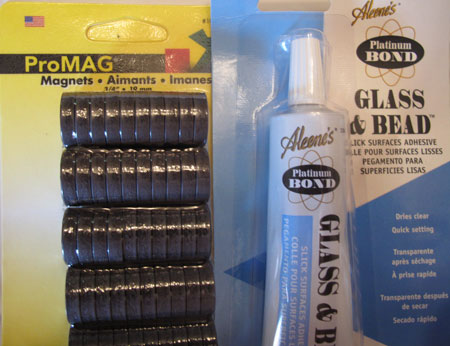
- Magnet “buttons”
- Glue: Strong glue for slick surfaces, like Aleene's Glass & Bead Adhesive, E6000 or Bond 527.
- Magnifying craft light: If your eyes are “mature” like mine. This is close work, so don't be too proud to use it!
The first step is to create a clean painting surface, and sometimes these marbles are a little dirty. I give mine a quick rinse in straight white vinegar, but you could also use alcohol. I use a large plastic container, and fill it with the marbles. As you remove the marbles from the bag, be very careful. They're glass, of course, and it isn't unusual to find a broken or badly-chipped marble.
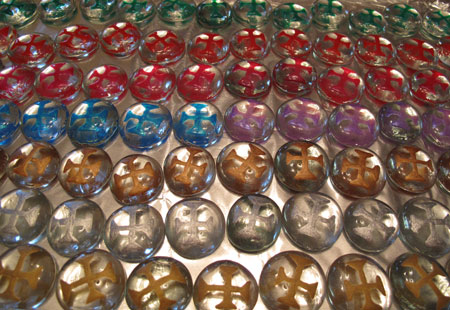
You'll notice that I'm working with a lot of marbles. It makes sense to me to paint a large batch at one time, since I already have all the stuff out. Changing paint colors requires washing supplies, so I might as well do several marbles of each color while I'm at it. For this tutorial, I painted 7 dozen marbles.
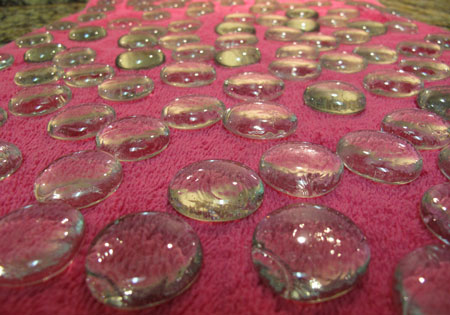
Add vinegar or alcohol to cover the marbles, and let them sit for a few minutes. Scoop them out with a slotted spoon, and lay them out on a thick towel in a single layer.
You can blot them a little or just let them naturally dry. I've never had a problem with spots forming, so air drying is usually fine. You definitely want the marbles to be completely dry before you start painting. Try not to touch the surface of the marbles from this point on, since the natural oils in your fingers could interfere with the paint adhering.
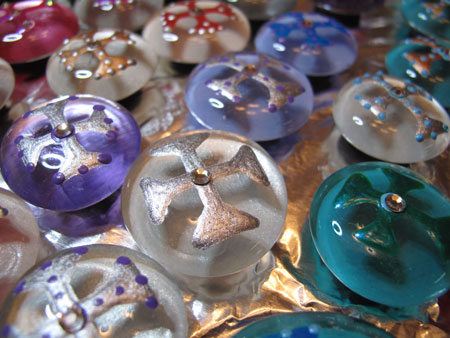
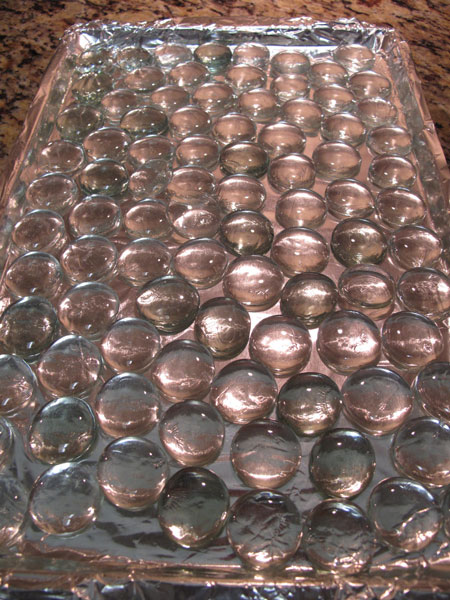
Once they're dry, remove the marbles from the towel and place them on an old foil-lined cookie sheet or tray. I also cover another tray or sheet with foil to have a place for the marbles as I finish working on each one. This 7 dozen is all lined up, ready to get dolled up!
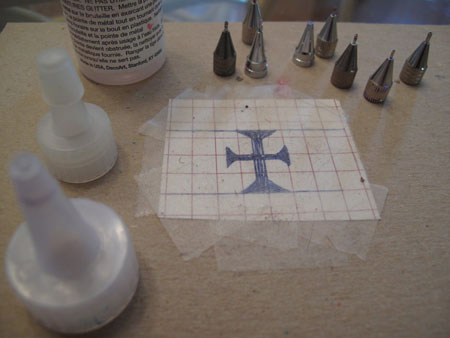
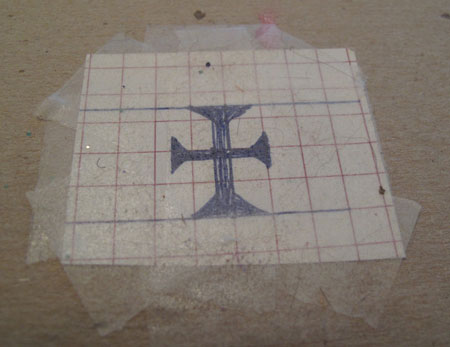
You may be able to freehand your design, but I can't. Years ago, when I came up with the idea of painting these, I tried freehanding and it wasn't pretty. I'm crafty, but not artsy, so I need a template. I like to paint crosses, so it was very easy to draw a cross template on a piece of gridpaper. Can you tell how well used/loved this template is? 🙂
Once you get your design drawn out, attach it to a piece of cardboard so it's sturdy. Here's a trick for you. Cover the design with a few pieces of removable two-sided tape. This semi-sticky surface will hold onto the marble just enough to keep it stable and in place while you're painting on it. When the tape eventually gets covered with cat hair (or dog hair or lint) you can easily peel it off and replace it with fresh tape. It really makes a big difference.
If you need the magnifying light, now is the time to pull it out. Place your template on your work surface, and choose a marble, any marble. Imperfections are common in these guys, so don't expect a perfect flawless one. That's part of their appeal. Discard chipped ones or any that just aren't pretty to you. Center your marble on top of the sticky template.
Here comes the fun part…painting! Select the color you want to paint your crosses. I love metallics: gold, silver and bronze. I also love the gorgeous shimmery opalescent colors from Delta PermEnamels. You can customize the color of your marbles for the occasion or the season, or just use the colors you like.
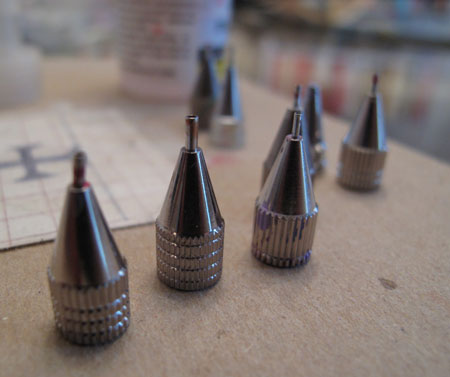
So how do you get the paint on the marbles? Using a brush is too tricky for non-artist me, so I went looking for an easier solution. What I found are these brilliant metal glass painting tips that look like little ballpoint pen tips. I've seen a couple of different kits at the craft store, and the tips may vary a smidge, but they always include the tips, small plastic bottles, and the adapter caps that screw onto the paint bottle.
The little metal tips snuggly screw onto the plastic adapter caps. I find that they also fit perfectly on the caps of some paint bottles. If you're using paint that comes in a chubby jar like the Delta PermEnamel, you'll need to pour a bit of it into a small paint bottle that fits the adapter cap.
Once you have the tip securely on the paint bottle, test it out before you paint. I keep a paper plate and a paper towel nearby for this purpose. Draw a line of paint on the paper plate to make sure the paint is flowing smoothly, and then wipe off the tip cleanly.
These painting kits also come with a little piece of wire that you can use to dislodge any clogs that might form in the tips, so keep this little jewel on your paper plate too. Some paints are really bad about clogging, but others don't clog at all.
And a word to the wise, when you change paint colors and switch to a new tip, be sure to drop the used tip and cap into a cup of water. If you let it sit and dry out, you'll pretty much be up a creek and have to toss those pieces. You'll never get dried paint out of that skinny little tip.
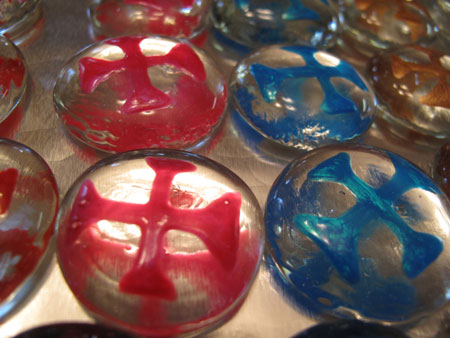
Now, back to painting. I start at one end of the marble, and just follow the template, filling in the design. You don't want to squeeze the paint bottle really, just hold the bottle like you were holding a marker or pen, and guide the paint around the template. The paint shouldn't be so thick that it will drip or ooze, but you do want good even coverage after two coats.
Don't drive yourself crazy by striving for perfection, especially with this first coat. After the second coat, you'll be happy with what you see, so don't worry. The main thing is to keep within the lines, and have fun! If you make a mistake, you can try to clean it up with a toothpick. If it's a doozie of a boo boo, just toss the marble and move on to the next one!
Tada! First coat complete!
Let the first coat dry thoroughly; I prefer overnight. For the second coat, you won't need the template, so just make sure you stash it in a safe place for next time.
Take the same color paint, and add your second coat. You can smooth out any rough edges and fill in any sparse areas. Once you're finished, allow the second coat to dry overnight again.
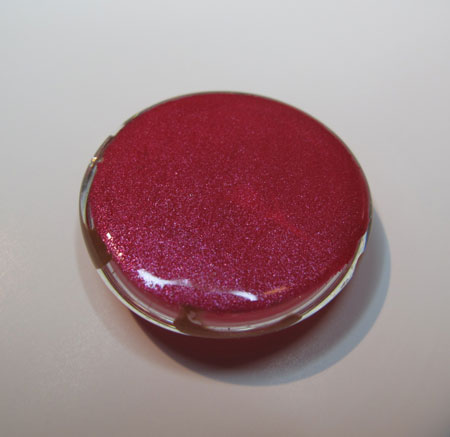
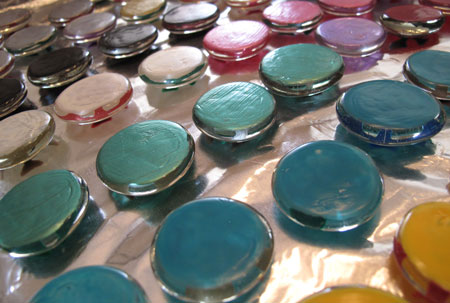
Did you think we were finished? Oh, heck no. The fun's just starting! We're going to add a background color to the BACK of your marble. You can skip this step if you want to, and sometimes I do, but I think it really adds a lot. It gives dimension and depth to the marble, adds a contrasting or complementary color, AND hides the magnet you're going to glue on the back. Go a little crazy with your background color, or just let the design color be the star.
For this step, I use a small flat paintbrush. And…you got it, let it dry overnight.
If you've chosen a sheer color, like my pearly white, you might want to add a second coat after the first sets up, but it isn't necessary. It's up to you! If you want to see how a color might look behind your cross, just hold up your marble to the bottom of the paint bottle, like this.
We're coming down the home stretch, so stay with me. You have two coats of color on your cross, plus a coat or two of background color on the back of the marble. I like to add a magnet at this point. If I do it now, I don't have to rest the marble on it's frontside after the delicate little dots are applied, and risk smushing them down a bit. I like for the decorations to be as dimensional as possible.
To attach the magnet, add a tiny dot of glue to the magnet and to the back of the marble, and allow it to sit for a minute or two (check your particular adhesive for directions). Any longer and the glue may dry too much. Attach the magnet, and set aside to dry… overnight.
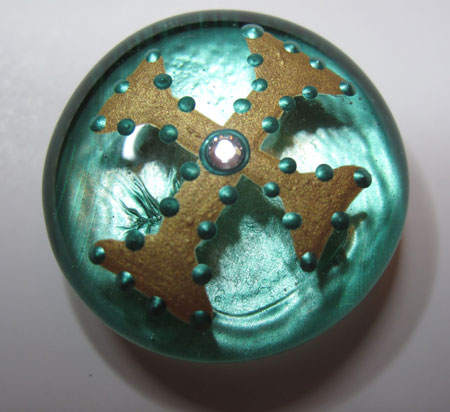
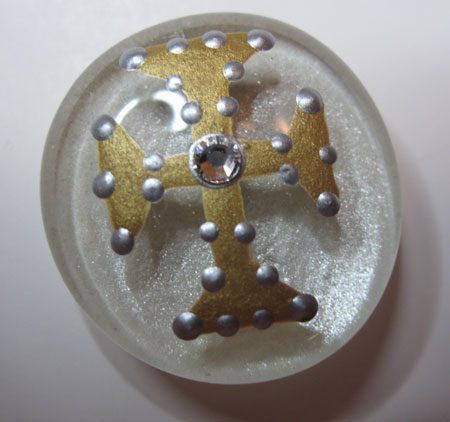
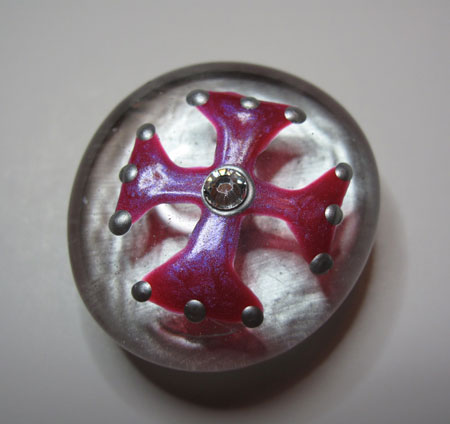
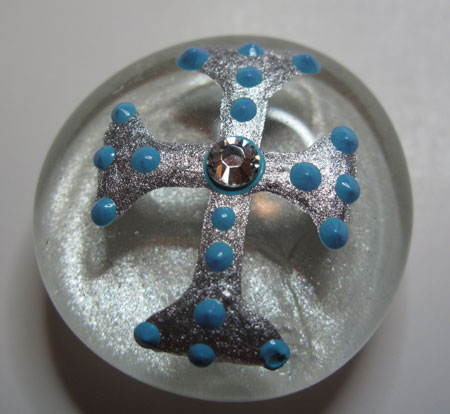
Now the last steps! It's time to decorate the front of the marbles. I do dots because they're easy and I like how they look, but you could do squiggles or lines or anything else your imagination can conceive of. Choose any color! I really like adding a dot color that coordinates with the background color, but other times, the dot color just comes out of the blue.
Before I add the decorative dots, I add one teensy tiny dot of paint (you could use glue, but you already have paint in your hand) to the center of the cross and carefully place a swarovsky crystal with the tweezers. Press it down very gently. Then just add dots here and there all over the marble, in any pattern you like.
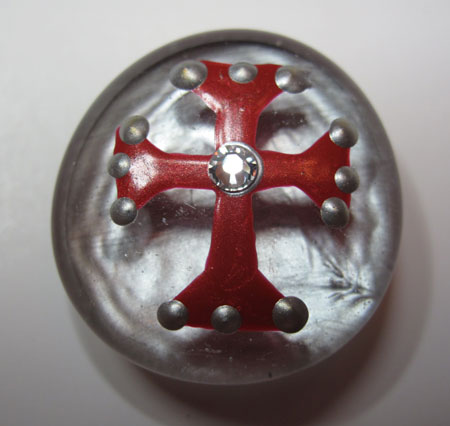
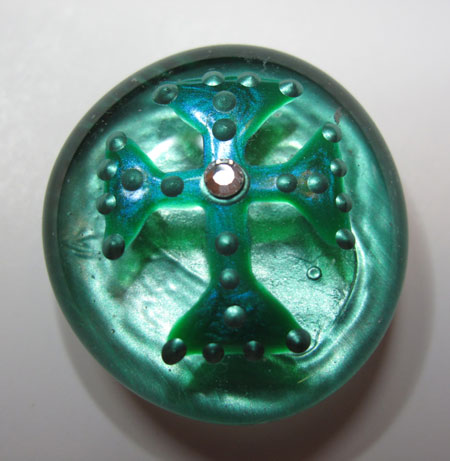
Voila! Your marble magnet is finished! Do you love it?
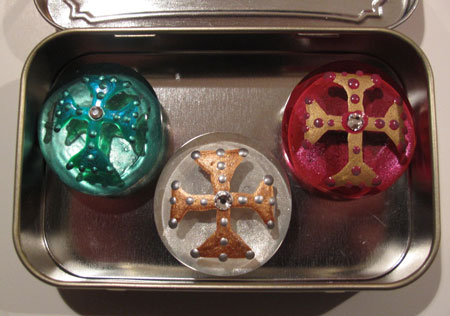
I love to give these painted marble magnets as little gifts, so they need to be packaged up cute. I've seen people put the paper-backed magnets in Altoid tins, and it's kind of cool that they stick in place and don't rattle around. You'd have to decorate the tin though, and you have to deal with the raised logo on the front of the tin unless you buy flat new ones.
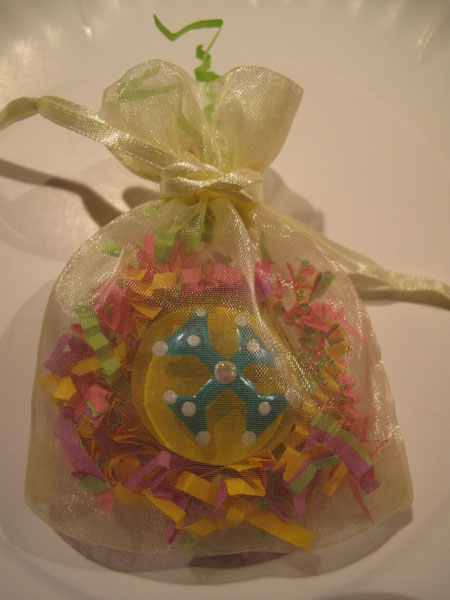
You could also put the marble magnet in a little drawstring bag with a bit of pretty shred. This is kind of sweet and Eastery-baskety.
What I like to do though is to take this beautiful marble to the next level by customizing a little paper mache box for it, with stamping, embossing and a scripture hidden inside. Then it goes into the drawstring bag, and then into a handmade origami box. And if that isn't enough, we'll then wrap up the whole thing with a tulle bow. Overkill? Nah! There's no such thing as overkill when it comes to giving gifties!
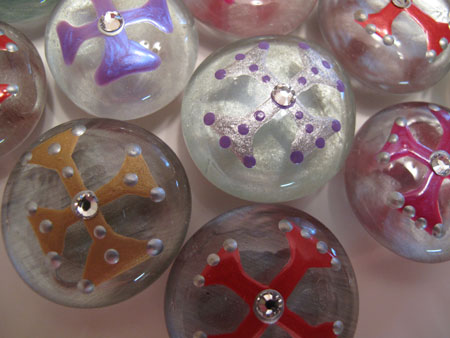
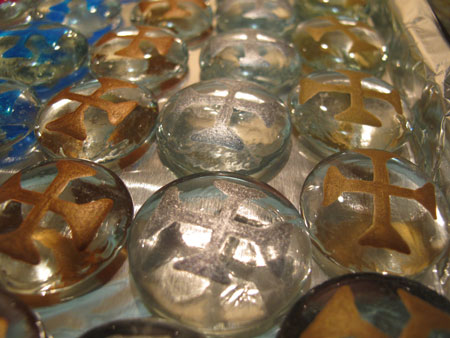
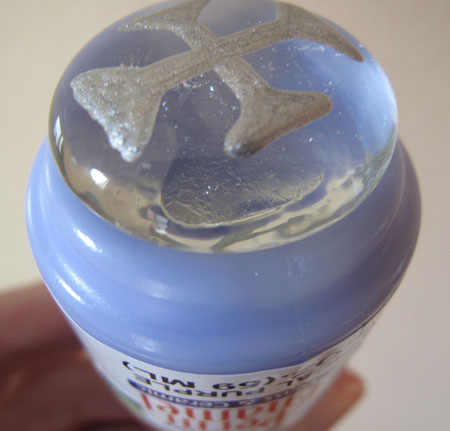
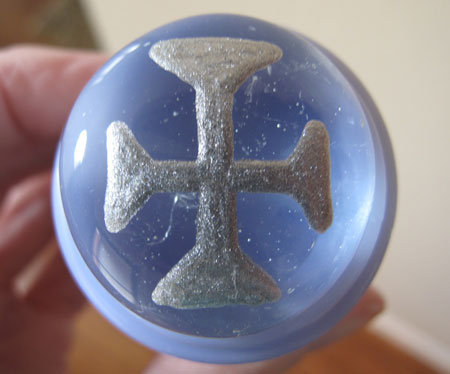
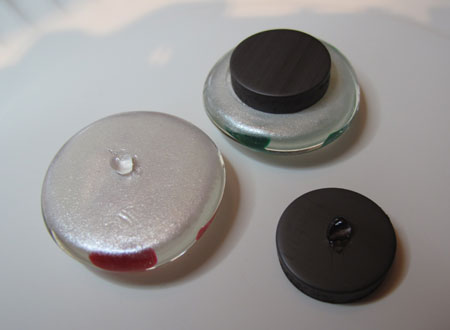
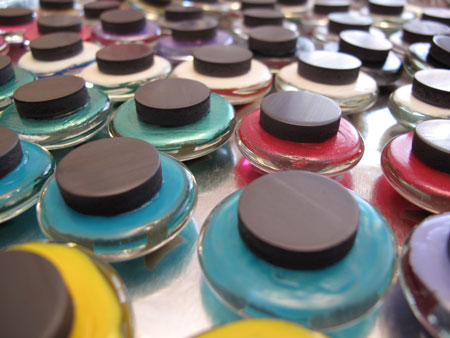
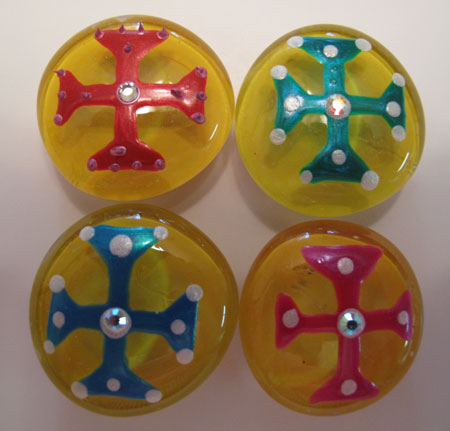
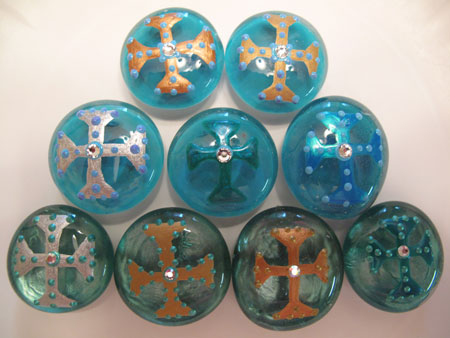
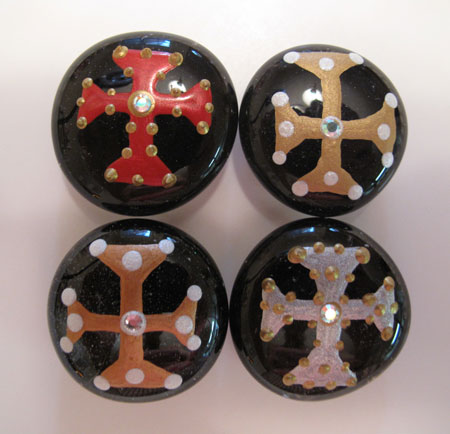
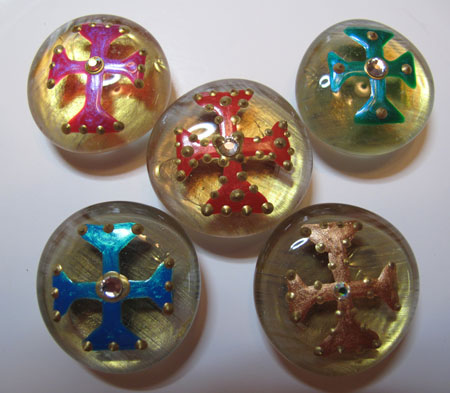
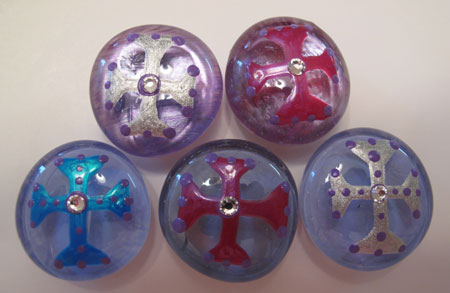
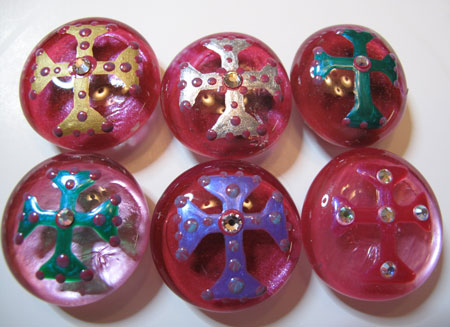
I'll show you how to do all of that next time, and share some of my favorite ways to give these away! Til then, here are a few more of my favorite marble magnets from this big batch. See you soon!
- Leave a Comment (12)
- Find more in Home, Christmas, crafts, Easter



March 20, 20114:03 pm
Those painted flat marbles are beautiful and look very labor intensive if you ask me! but the result is very pretty and clever! Again Lilsis, a job well done!, imaginative and functional! You did a beautiful photographic demonstration, always very crisp, colorful and organized. I enjoyed reading it all! thank you again for all the time you put into these cool projects and thank you for sharing them will all of us!
March 20, 20118:24 pm
Thanks, Patty! I’m so glad you liked the project. These are definitely time intensive but they’re fun to do so the time goes by quickly! That’s my favorite kind of craft!
March 20, 20114:53 pm
Thanks, Patty!
Yes, those marbles are beautiful, but I can’t take credit for this project. These were made by my BigSis! 🙂
And, I know they were labor intensive. I’m hoping she opens an Etsy store so she can share these with anyone who would like to own one or give as a gift.
March 20, 20118:21 pm
I’m definitely thinking about exploring the etsy store route, thanks for the vote of confidence!
March 20, 20114:54 pm
I LOVE each and every one of these, but I think my absolute favorite is the turquoise and silver one! Beautiful job!!
March 20, 20118:20 pm
Thanks, LilSis. This was a really fun project to share. It’s one of my favorite crafts to do!
March 23, 20115:11 am
I love them….they may be a little much for me given my lack of patience with myself BUT I just may have to give these a try. Also love how you have placed them in the cute little pouches with shredded paper….they would make great little gifts/takeaways for a bridal or baby shower. Thanks for sharing!!
March 23, 20113:43 pm
Thanks, Shannon you’re so welcome. I hope you do try them and let me know if you do! And send a photo!
March 23, 20119:05 am
Hi..the cross marble magnets are so beautiful..I know, cause one is perched on my fridge..the turquoise and silver may be my favorite also..someone needs to put these on the cover of their magazine, don’t you think ? Have never seen any out at stores.
March 23, 20113:41 pm
Thanks, SisMama! It’s a really fun project, and fun to share!
January 31, 20147:42 am
What a neat idea! Are those dots painted on?
January 31, 20147:42 am
what a neat idea! Are those dots painted on?