February 24, 2013
The best blueberry smoothie is the perfect way to start my day. My body craves it. Even in the winter, I have to have it. If I include protein powder, a big smoothie will last me for 3 hours until I get hungry for second breakfast.
You do know about second breakfast, right? (Sorry for the dorky “Lord of the Rings” reference. I love those movies.)
You can throw whatever you like into the blender, but here’s my basic recipe for what I think is the best blueberry smoothie.
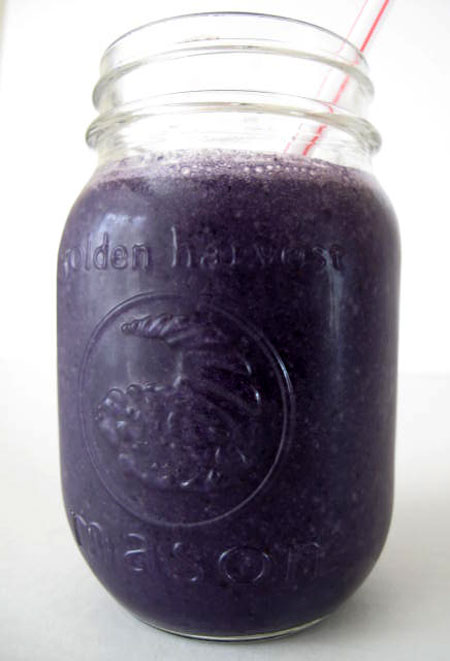
Best Blueberry Smoothie
1-1/2 cups frozen organic blueberries
1-1/2 cups unsweetened vanilla almond milk
1 tsp ground flax seeds
1 heaping scoop unsweetened vanilla brown rice protein powder
1/2 tsp maca powder
1 tblsp coconut oil
Splash of homemade vanilla extract (see note below)
Optional: a tiny bit of chlorella powder
Place everything into a blender and mix until thoroughly blended, adding a little water if the mixture gets too thick. Enjoy!
Notes:
- I use blueberries because they’re such a nutritional powerhouse, but you can use any fruit. I used to mix in some strawberries, but I’ve been reading that even organic strawberries are likely to contain pesticide residue. I prefer frozen fruit because then I don’t need ice cubes to get a nice freezy texture.
- My usual liquid is Almond Breeze, but I’ve added a splash of orange juice for flavor when I had it around. I don’t like using much juice though because of the high natural sugar content. If I wanted a sugar buzz, I’d rather have a piece of chocolate.
- Instead of the flax seeds or in addition to them, I’ve also used hemp seeds and chia seeds. They’re all good in smoothies.
- Maca is one of my favorite little foods, and I think it’s highly underrated. Google it and see. It’s a powdered Peruvian root that I first read about it in Brendan Brazier’s book Thrive
. It helps balance out hormonal issues for menopausal women, and is said to have a variety of other benefits including increasing energy and endurance, and reducing stress and adrenal fatigue. I don’t know about all of the claims, but I can tell you that my hormonal issues are lessened when I use it and I just feel better. I like the Royal Maca
brand. It is gelatinized, which means it is less starchy, more potent, more concentrated and easier to digest than raw maca.
- Coconut oil is another little jewel that I love. It’s supposed to reduce night sweats and other hot flashy problems, as well as helping to prevent Alzheimer’s and provide quick energy since it doesn’t have to be metabolized through the liver first like most other fats. I’d really like to get one more tablespoon of it in my diet each day.
- Homemade vanilla extract is pretty complicated, so pay close attention. Once I finish a bottle of my favorite vanilla extract, Penzey’s Mexican Vanilla, I keep the vanilla bean inside the bottle and fill it up with the cheapest vodka I can find. Then I just store it in the back of the pantry for a few weeks. I have 3 bottles in rotation, so while I’m using the oldest bottle, I have 2 others marinating in the pantry. Why do this? Because I’m a vanilla extract snob; I like the good stuff which is pricey. There’s no need for it in a smoothie though and this cheap version works perfectly fine.
- Chlorella is another food I learned about from Thrive. It’s a freshwater algae that is a detoxifying super hero! It helps speed up the rate at which toxins are removed from our bodies, and is even used in cases of mercury overload. You have to respect chlorella for the power it possesses, and add it into your smoothie very, very gradually, otherwise you’re likely to experience bloating and real discomfort. I don’t add in chlorella all of the time, and when I do it’s usually 1/4 tsp or less.
I hope you’ll give the Best Blueberry Smoothie a try, and start your morning with a team of super nutrients that will go to battle for you throughout the day!
- Leave a Comment (0)
- Find more in Food,Health, breakfast, smoothie


")


")

 You can check out the full roundup of this month’s Potato Ho Down hosted by Krysta at