Easter Chicks Deviled Eggs

March 29, 2013

Easter Chicks Deviled Eggs

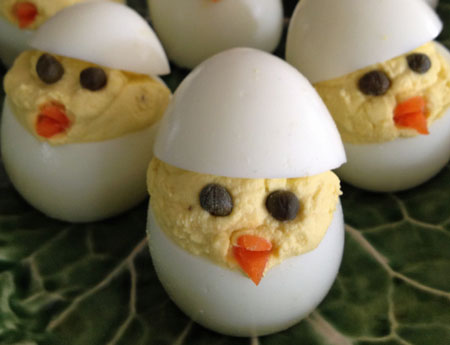
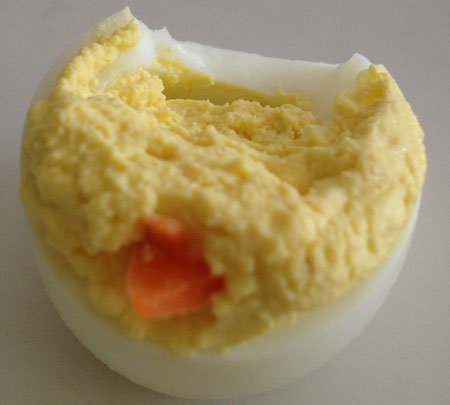
I first saw a photo of these cute little Easter Chicks Deviled Eggs on Pinterest several weeks ago so I repinned it to my LilSis Holiday Goodies board so I wouldn't forget to make these for Easter. This would be a fun little project to get the kids to help with because these little Easter Chicks are sure to be the hit of the party! Let's get started.

First, cut a little slice off the wide end of your boiled eggs to create a flat surface so the chicks will sit flat and not roll all over the plate. Next, on the narrow end, cut a wider section off, that will become the chick's little hat; (about 1/3 of the egg). Carefully remove the yolks from the eggs and place in a bowl.

You can start with your favorite recipe for the deviled eggs; but for this little project, a very basic deviled egg is perfectly fine. It's more about the cuteness of the little chicks than anything else.

For mine, I simply mashed my egg yolks, added a splash of pickle juice, a little mayo, ground mustard, and lemon pepper to taste. No reason to measure, just don't use too much mayo or pickle juice because you don't want the egg yolks to be runny.

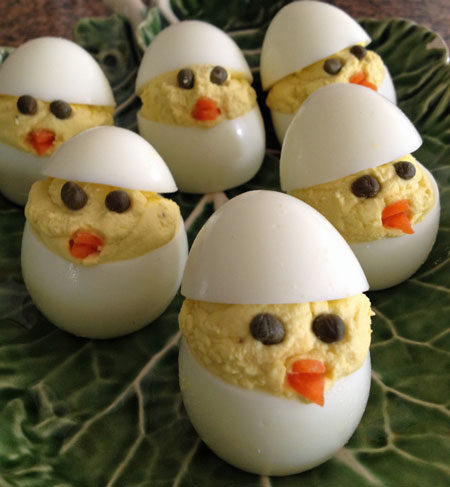
When you've got your deviled egg mixture ready, just put in a plastic baggie and cut a little hole in the corner and squeeze the mixture into the egg.  I used capers for the eyes and little triangles of baby carrots for the beaks.

I got in too big of a hurry to take photos along the way, but if you need the visual instructions,  A Thrifty Mom website has some easy step by step photos.

Easter Chicks Deviled Eggs

These are fun, simple and inexpensive to make and almost too cute to eat, don't you think?

Easter Chicks Deviled Eggs

Almost. 🙂


~LilSis

Easter Craft Ideas: Artsy Dyed Eggs and Cross Painted Glass Marbles

March 17, 2013

Easter is just two weeks away, so there's still time to get your Easter craft on! Gather your kiddos or friends, and a few supplies, and have fun creating!

Here is a recap of our favorite Easter craft ideas. Just click on the title for all the instructions and lots more photos.

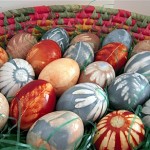
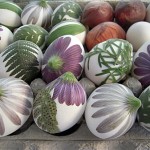
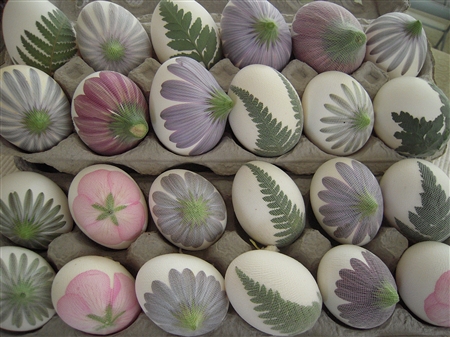
Silk Dyed Easter Eggs

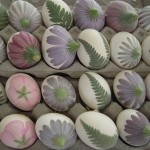
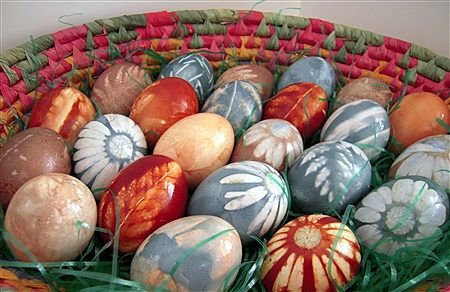
Natural Dye Colored Easter Eggs

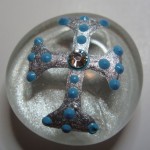
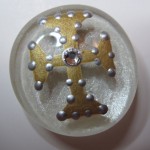
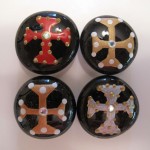
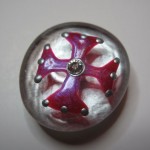
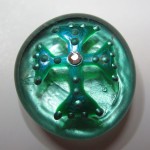
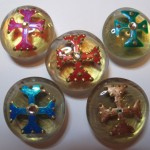
Cross Painted Glass Marble Magnets

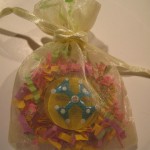
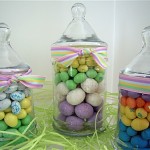
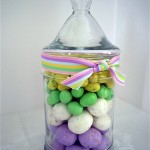
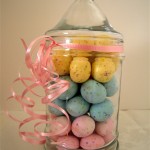
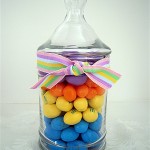
Easter Candy Gifts

~BigSis

Silk-Dyed Easter Eggs

April 7, 2012

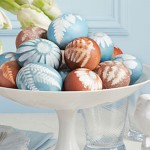
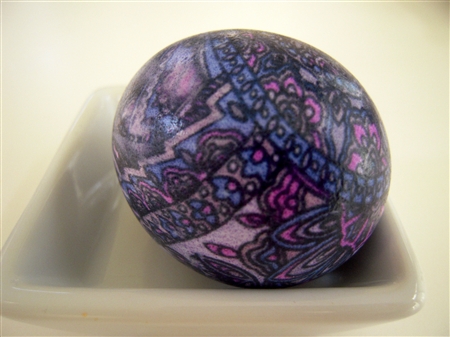
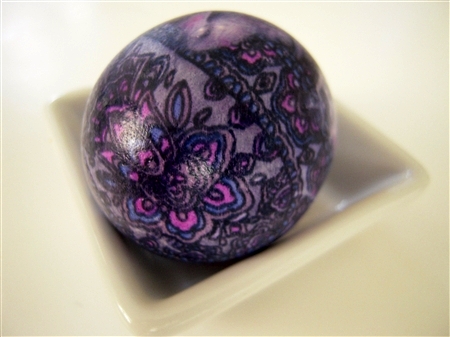
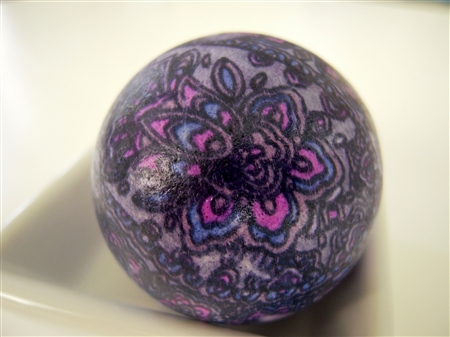
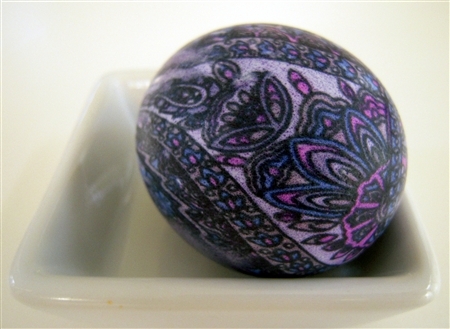
Silk Dyed Easter Eggs

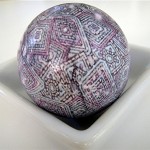
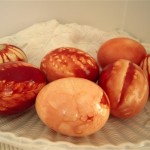
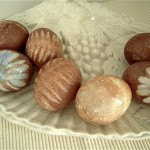
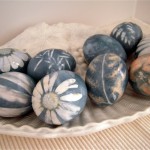
I had so much fun with my Natural Dye Colored Easter Egg project  last Easter so I decided to try something different again this year.

Before I started these, I watched an instructional video on Martha Stewart and I also browsed online a little bit just checking out some other tutorials on how to make these Silk Dyed Easter Eggs.

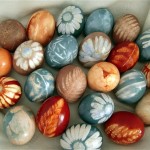
I loved the gorgeous eggs from Our Best Bites so I suggest checking out their site for step by step instructions.  Each and every one of their eggs are beautiful! I didn't have as colorful silk as they used but I'm still pretty happy with my results.

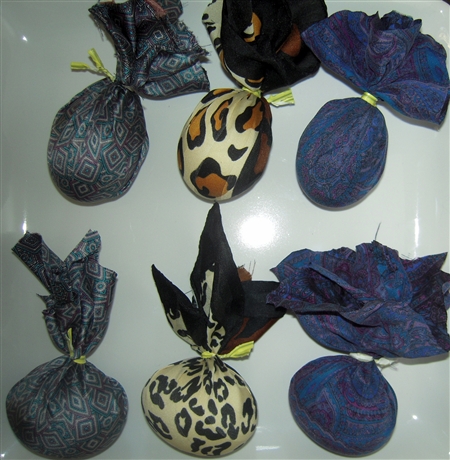
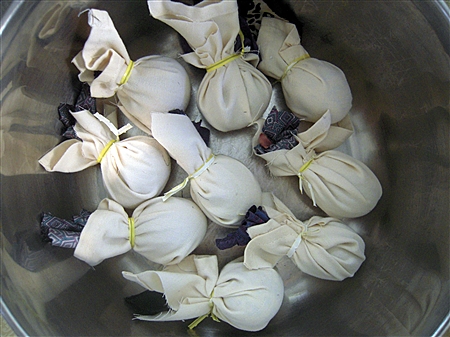
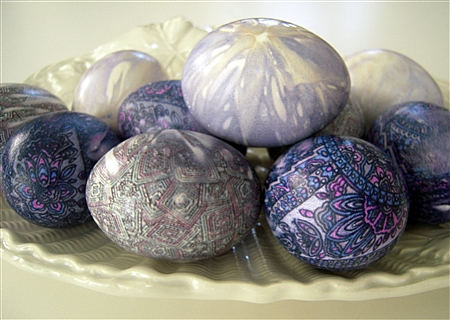
I didn't take the time to photograph each step but these are really easy to make. Here's a photos of a few of the eggs after they were wrapped in the silk squares. I tied the twist tie at the top of some and on the side of some depending on the pattern of the silk.

Next, wrap the eggs in some kind of white fabric; an old pillowcase or napkin works perfect. This step can be done at the same time when you wrap the silk around the egg, but I wanted to make sure the silk was really tightly wrapped around the egg, so I wrapped in the silk first, then the white fabric.

Here are the wrapped eggs in a big stock pot ready to be covered in water. Just cover with water, add 1/4 c. vinegar, then boil at a slow boil for about 20 minutes.

Silk Dyed Easter Eggs

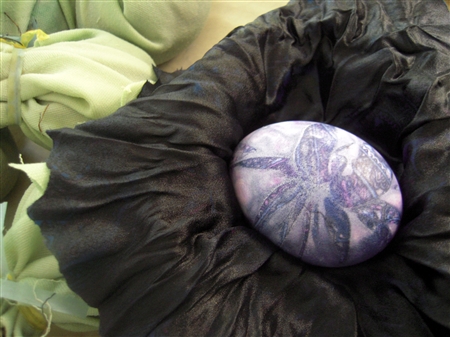
Let them cool a few minutes and then you're ready to unwrap. This was the best part; like Christmas morning. 🙂

Silk Dyed Easter Eggs

Silk Dyed Easter Eggs

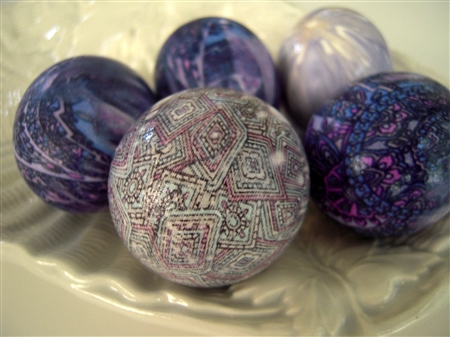
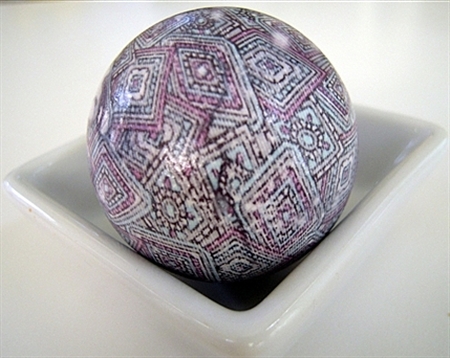
A few of these have more subtle patterns because I think the scarf I used wasn't 100% silk. That's the most important part about this process. For the pattern to transfer in detail to the egg, the fabric has to be 100% silk.

Silk Dyed Easter Eggs

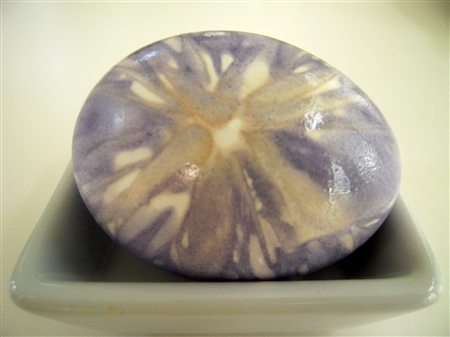
This was one of the subtle patterns created by the animal print scarf that I believe was not 100% silk. (the tag was missing, so I took a chance.)

Silk Dyed Easter Eggs

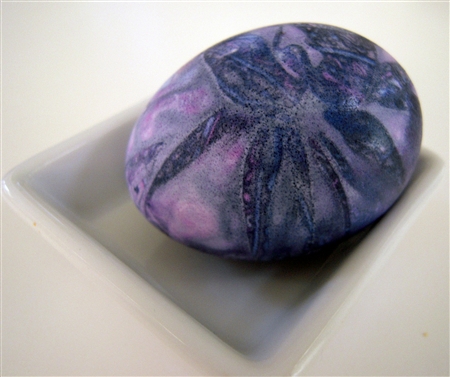
This was a random design that I thought was pretty; just made by the way the silk was tied.

Silk Dyed Easter Eggs

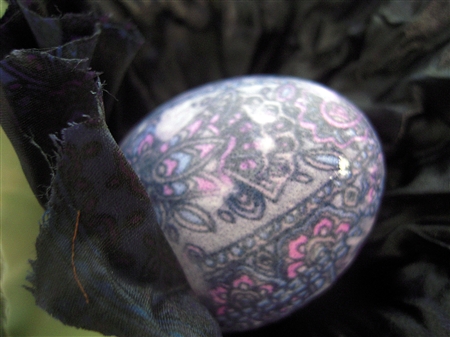
This pretty pattern was created from an old tie that I dug out of my hubby's closet.

Silk Dyed Easter Eggs

These are my favorites. They turned out the best and were actually made from an old pair of my hubby's silk boxers! (That explains why there was no ‘before' photo.)

Silk Dyed Easter Eggs

Silk Dyed Easter Eggs

Silk Dyed Easter Eggs

Silk Dyed Easter Eggs

So; be creative, have fun,

and most importantly,

have a Blessed Easter Sunday!

~LilSis

Easter Goodies Roundup

April 5, 2012

Easter sure snuck up on us this year, didn't it? Are you ready? Need a few ideas for some Easter goodies?

Both of us have had a lot going on this past month so we haven't been able to get any new Easter treats posted.

But, the good news is that we have fun recipes for cupcakes, candies, cookies, and decorated eggs that we've shared in the past that we're going to round up for you here today.

First, let's start with these adorable Homemade Easter Chocolate Candies from BigSis.

Homemade Easter Chocolate Candies

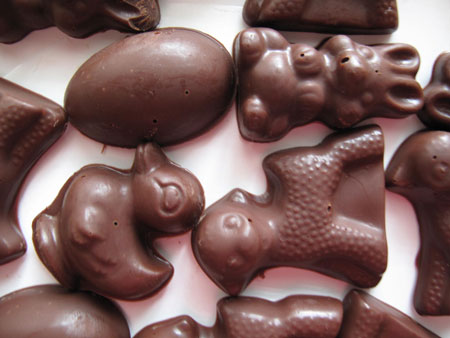
Here's a photo of the little duckies, bunnies, sheep and eggs before they were wrapped in the foil.

Easter Chocolate Candies Molded

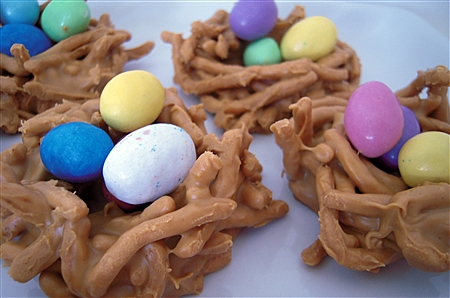
The Easter Bird's Nest Candy is an easy recipe that you can change up a bit depending on your preference. These nests were made with butterscotch chips.

Easter Bird's Nest Candy

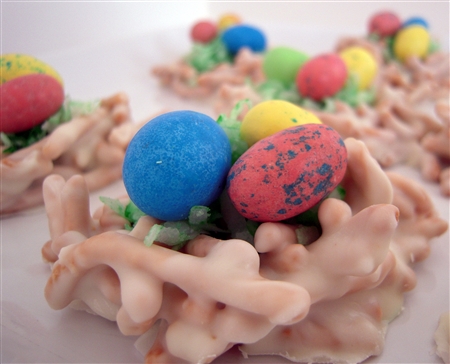
Here are a few made with white chocolate instead of butterscotch.

Easter Bird's Nest White Chocolate Candy

If you're looking for a different way to dye your eggs, try these Natural Dye Colored Easter Eggs that I made last year.

Natural Dye Colored Easter Eggs

Here are some of the eggs before going into the dye.

Natural Dye Colored Easter Eggs

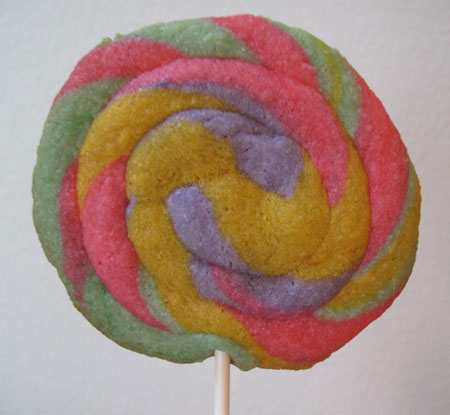
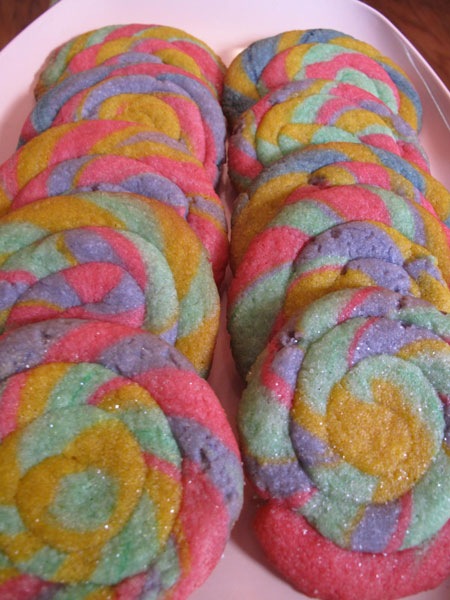
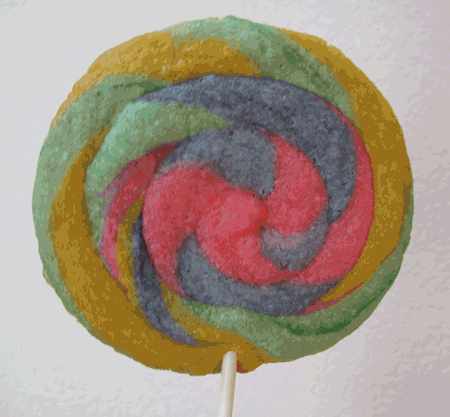
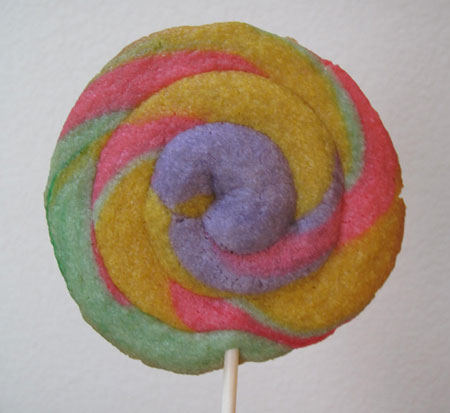
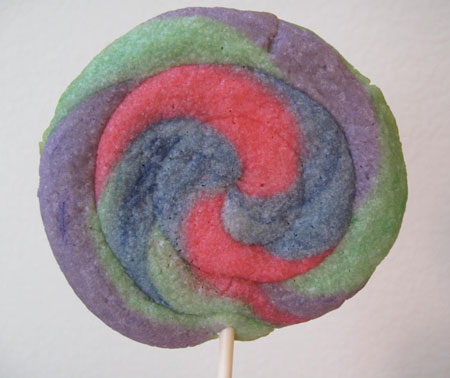
It would be fun to get the kids in the kitchen to help with these Swirled Cookie Suckers.

Swirled Cookie Suckers for Easter

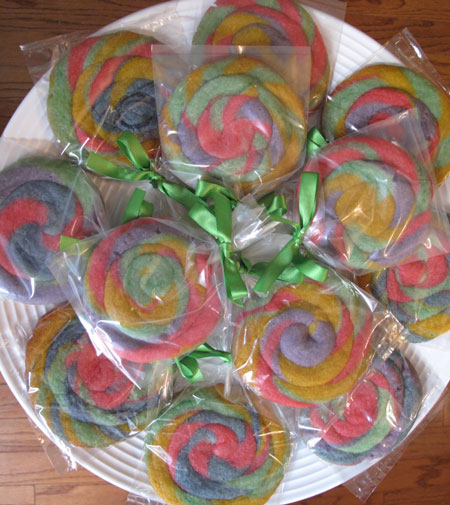
These are great for wrapping in little treat bags for gifts or to add to your Easter baskets!

Swirled Cookie Suckers for Easter

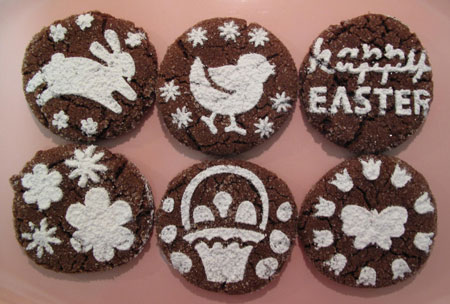
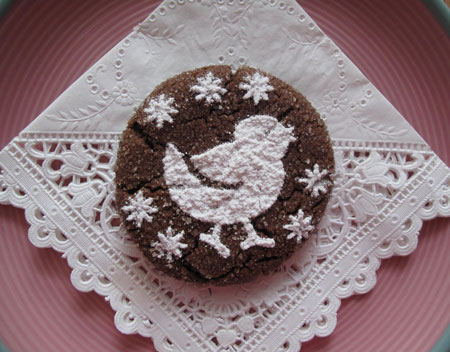
These Chocolate Snickerdoodles are perfect for making Decorated Easter Cookies.

Chocolate Snickerdoodle for Easter

Super cute and super easy with these stencils!

Chocolate Snickerdoodle for Easter

And even though my Easter Bunny Cake didn't turn out too cute, I've got step by step instructions on how to Make an Easter Bunny Cake.

Easter Bunny Cake
Here's Floppy with a different face and ears.

Easter Bunny Cake

If you were looking for some new ideas, I hope we've helped you find something that you want to try for Easter this year.

If all goes well, I'll be back in a few days to share my latest Easter Egg decorating project. (Fingers crossed.) 🙂

~LilSis

Swirled Cookie Suckers for Easter

April 22, 2011

Cookie Suckers Plate Rows

We've got one more fun project for you before Easter hops on in, and it's another one you can get your little bunnies and chickies involved with!

Several years ago, I made 3oo to 400 of these fun cookie suckers for the volunteers who were serving on Easter weekend in my church preschool.  Yeah, it was a pretty big church with LOTS of preschoolers!

I can still vividly remember staying up until 3 am, swirling and twirling the dough into cookie suckers on sticks, wrapped up in a treat bag and tied with a ribbon.  Even though it was exhausting, my main memory is that it was a really fun project!

Let me show you how to make these so you can enjoy them too!  I used a vegan cookie dough recipe this time, but the recipe I used to use is a rich one with cream cheese that's usually called play doh cookie dough.

Cookie Suckers Plate

I want to experiment with other vegan cookie recipes, since this one spread a tiny bit more than I would have liked, but it held up surprisingly well.  You just need a basic sugar cookie dough that will stay together and be pliable while you're rolling it out into a snake.  If it's too soft, it'll fall apart, but if it's too stiff it will crack instead of roll.

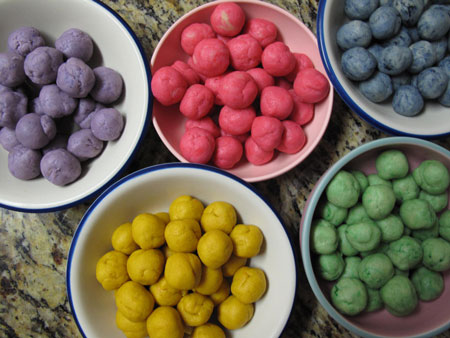
Whatever cookie recipe you prefer, make a couple of batches, then divide it up and mix in your favorite paste food colorings.  I like to use 4 different colors of  dough for each cookie, but you could use more or less.  That's the beauty of this project: you can use your imagination and do whatever you feel like!

Cookie Suckers Colored Balls

After the dough is made, refrigerate it overnight or until very cold, then start rolling!  This is where you call in the kids to help.

I use the bigger end of my melon baller to scoop out the dough, and then roll it lightly in my hands until it's semi-round.  My balls were probably close to 1″ in diameter, but I didn't measure.  The key is to make the balls the same size and use the same number of balls per cookie so that they all bake evenly.

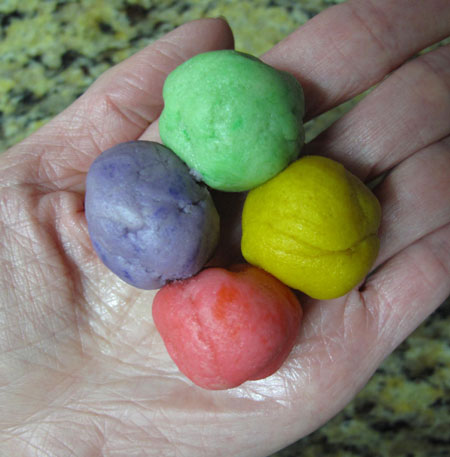
Once you have the balls made, chill them again.  If you start out with soft warm dough, you'll have a hard time rolling it out.  When the dough is cold, take 4 balls of any color and line them up in your hand.

Cookie Suckers 4 Balls

Gently roll the  balls together between your palms so they start to mingle and get happy with each other.

Cookie Suckers Balls Mingle

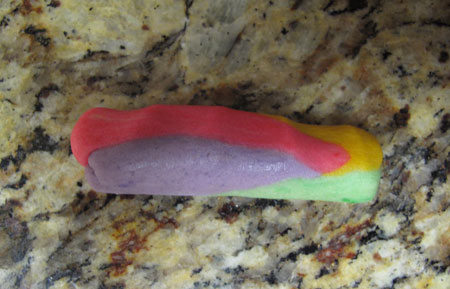
Then lay the dough onto your work surface and gently form it into a snake.  I thoroughly cleaned my granite counter, and it worked great for rolling.

Cookie Suckers Log

Keep gently rolling until you have a dough snake about a foot long, more or less.

Cookie Suckers Snake

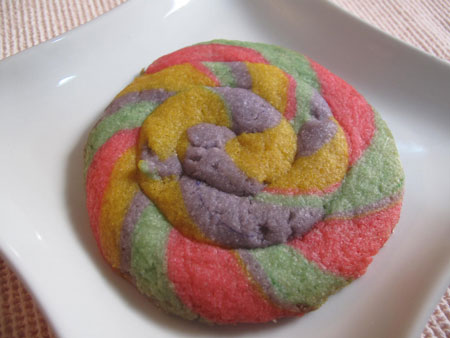
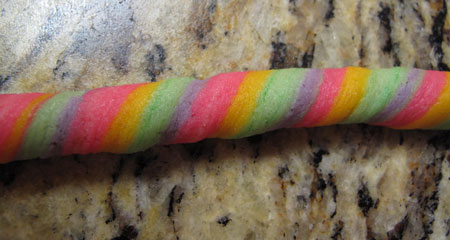
As I'm rolling it, I like to roll one end one way, and the other end the other way.  That's how you get the swirled candy cane effect.

Cookie Suckers Swirled

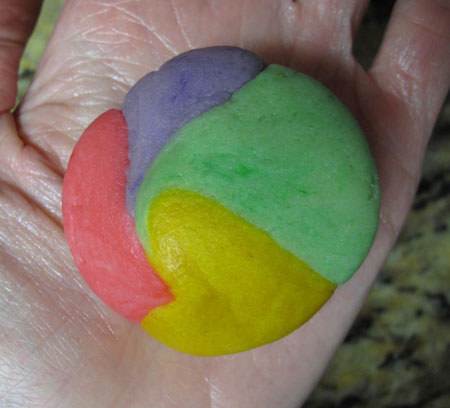
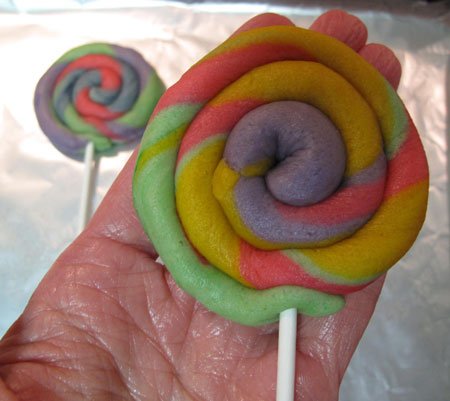
If the dough breaks, just mash it back together.  No one will ever know!  Now start coiling the snake around itself until you get to the end.

Cookie Suckers Coil

Add a sucker stick, and you have a finished cookie sucker ready to bake.

Cookie Suckers Bake

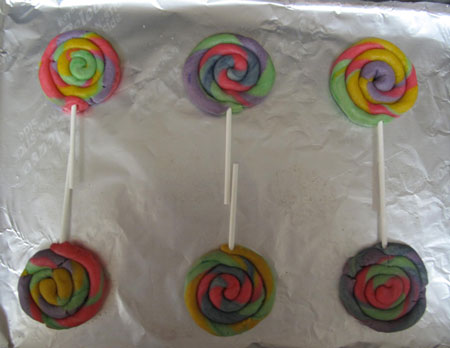
Repeat with the rest of the balls.  If you don't have cookie sticks, just bake the cookies as is.

Cookie Suckers 6 Bake

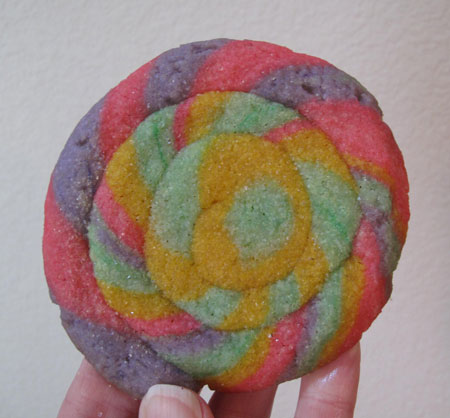
If you want to, you can add a sprinkle of colored sparkly sugar before you bake, like I did in the cookie below.

Cookie Suckers Baked

Cookie Suckers 1

Cookie Suckers 2

Cookie Suckers 3

Cookie Suckers 4

I like to insert the cooled cookie suckers into a treat bag that will fit, and tie on a little ribbon bow.  These make great gifts for your friends, neighbors and coworkers, and would be a really cute addition to your Easter table or to a special someone's Easter basket!

Cookie Suckers Platter

Happy Easter!

~BigSis

My 1st Easter Bunny Cake. Floppy, the flop.

April 18, 2011

Easter Bunny Cake

Let's see. Where do I begin?

First of all, if you're new here on BigSisLilSis, I should probably start by saying that I'm not a baker; and for those of you that have been reading for a while, I know that you've heard me say it over, and over, and over again. (But, it's true.)

Secondly, I didn't purposely set out to make my own birthday cake, but it just worked out that way. Yep. Today is my birthday and it's kind of a scary number for me so I won't mention how many candles should be on my cake. My hubby is really good about buying me wonderful birthday cakes from a local French Bakery, but I told him not to buy me one this year since I was making my first Easter Bunny Cake and we could just consider it my birthday cake.

One more thing before we get to the cake. I've always loved Duff and his show, Ace of Cakes and I love watching the cake decorating contests on Food Network, but after attempting this Easter Bunny Cake, I have a new-found respect and admiration for all cake decorators.

Here's a little conversation that happened when HayHay, my 17 yr old son, walked in after school on Friday after I had just finished my cake.

Me: “HayHay, did you see my Easter Bunny Cake?”

Hay: “No.”

Me: “Will you please look at it and tell me what you think? I'm really disappointed because I made it just like the photo from the recipe and she's not very cute.”

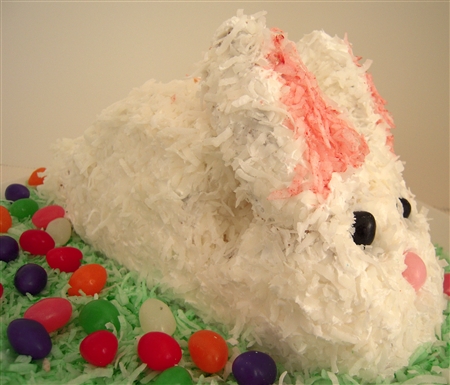
(This is what Floppy looked like when he first saw her.)
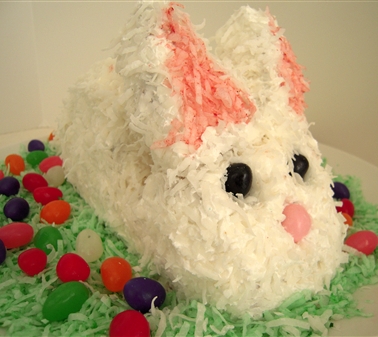
Easter Bunny Cake

Hay: “I think it looks pretty good considering you're not a baker.”

(I think he really did intend for that to be a compliment.)

So, let's back up and start with the construction of the cake. I used this Betty Crocker Easter Bunny Cake recipe and to begin, bake the cake according to directions for the 8″ or 9″ round pans and let the cake cool.

Cut one of the cake layers in half.
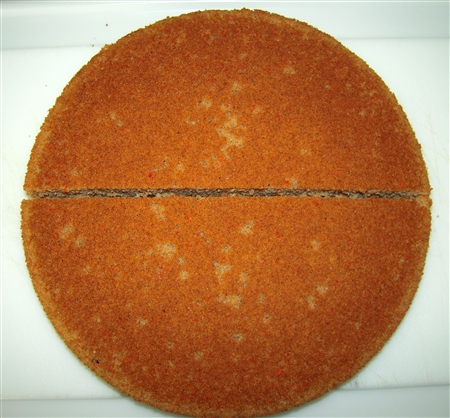
Easter Bunny Cake

Put halves together with frosting to form body. Place cake upright on plate or tray. Cut out a notch about one-third of the way up on one end of body to form head.
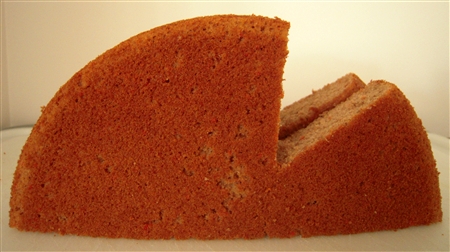
Easter Bunny Cake

Attach half of cutout piece to end of cake with a toothpick to form tail.
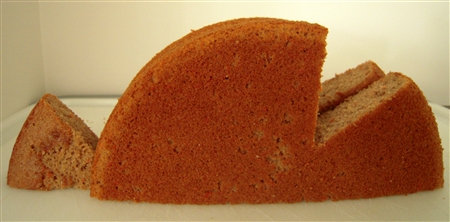
Easter Bunny Cake

I didn't want the ears made of construction paper, so I decided to cut the edges off of the other cake layer to form the ears.

(The crack down the middle of the cake was an accident. It happened when I took the cake off the parchment paper. I didn't even consider that the warm cake would stick to the parchment paper. DUH! A real baker would know not to do that. A real baker would have a cooling rack.)
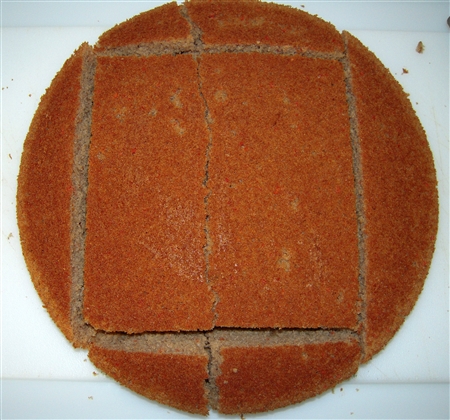
Easter Bunny Cake

I forgot to take a photo, but for the ears, I just took the two edges that weren't broken and put them together and then cut that piece in half to form the two ears.

Now, time to frost the cake.
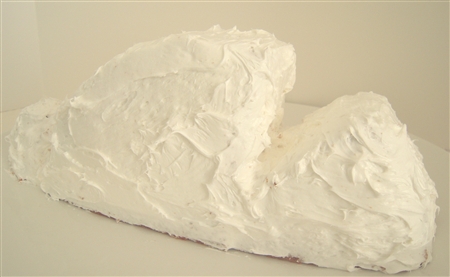
Easter Bunny Cake

Betty Crocker recommends using the Carrot Cake for this Easter Bunny Cake, but even though carrot cake seems Easter-ish, I would not suggest it at all. IF, and that's a BIG IF, I ever made this cake again, I would use a white cake. Even though the recipe says that if you put the cut pieces of the cake in the freezer for an hour before frosting, you won't have a problem with crumbs, that wasn't the case for me. With the carrot cake and the white icing, any time crumbs got in the icing, it was extremely obvious, and a big mess to fix, so why not use a white cake so if crumbs did get in the icing, you couldn't see them?

Next, sprinkle with coconut.
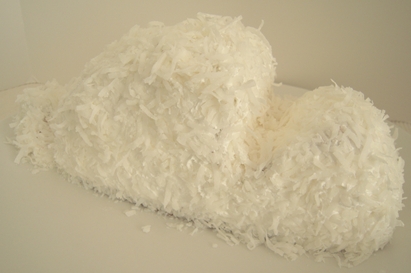
Easter Bunny CakeIs it starting to look like a bunny yet?

Next, I attached the ears with toothpicks.

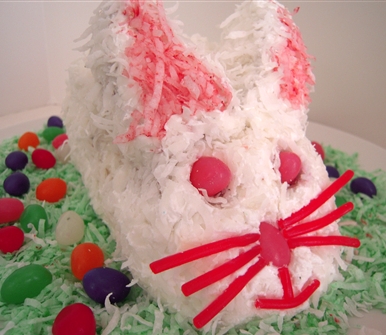
Then, just color some coconut green, sprinkle on the platter and scatter some jelly beans. I also colored some coconut pink for the inside of the ears. Just use jelly beans for the eyes and nose and your done.

Cute, huh? Not so much.
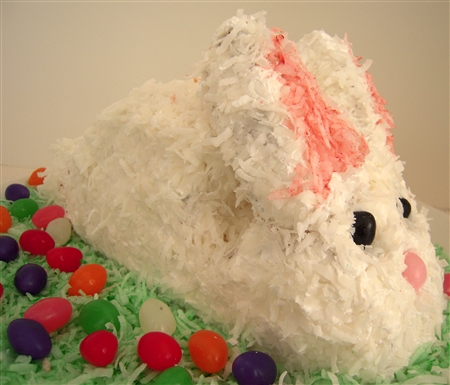
Easter Bunny Cake

I'm sure this cake would be fine for a kid's birthday party or Easter gathering, but I was disappointed. I didn't think it was cute at all and much smaller than what I expected.

Since I wasn't happy with Floppy's face, I decided to sleep on it and play around with it a little bit more yesterday. I never have liked sticking to any original recipe, so I don't know why I thought I had to when it came to decorating Floppy's face.

First, I decided to try pink eyes instead of the black.
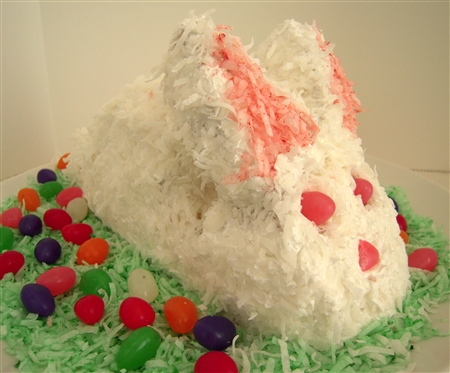
Easter Bunny Cake

That's a little bit cuter, but how about some whiskers?
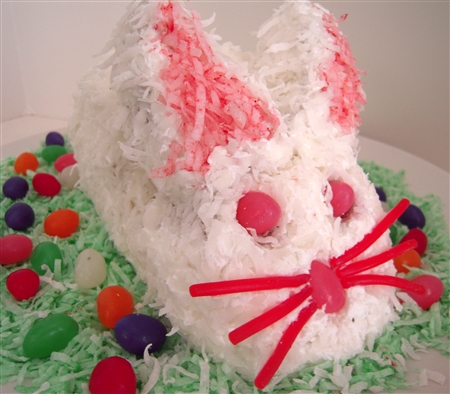
Easter Bunny Cake

I don't know. How about adding a mouth?

Easter Bunny Cake

Not. That looks even more goofy!

Why don't we just change the face completely?

Easter Bunny Cake

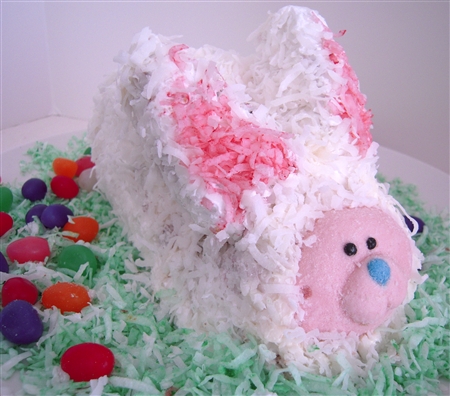
I found this little marshmallow Easter Bunny while at the drug store the other day and decided to try using it's face on my Easter Bunny Cake.

Now the face is definitely too small or maybe the ears are just too big.
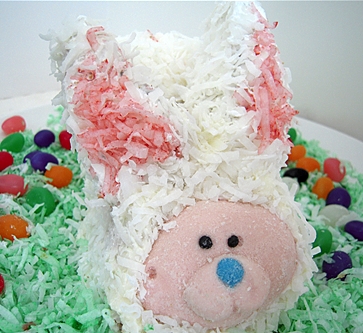
Easter Bunny Cake

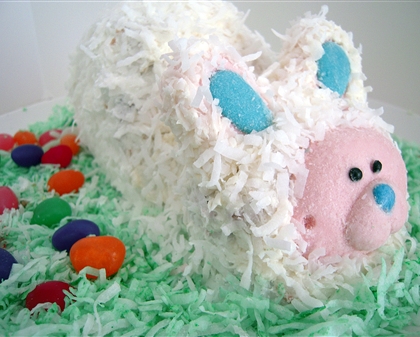
Let's try the ears from the marshmallow bunny.
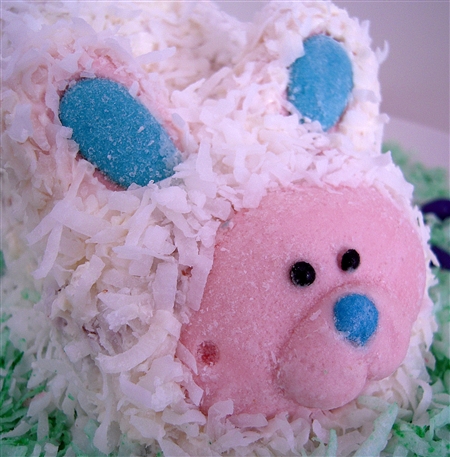
Easter Bunny Cake

That's a little better, don't ya think?

Meet Floppy, the flop.

Easter Bunny Cake

Not exactly what I had planned on, but I guess it'll have to do. I think Floppy was my first and last Easter Bunny Cake.

I'm glad my hubby had a Plan B for my birthday cake.
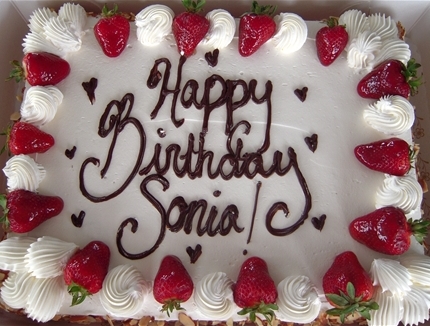
He surprised me with this gorgeous cake!

~LilSis

Homemade Easter Chocolate Candies

April 16, 2011

Easter Chocolate Candy Box Chicks

By now, you may know that I don't do dairy or eggs, and chances are you know some other vegans.  You may be even more likely to know someone who is lactose-intolerant, or who just finds that dairy products don't agree with them.

What if your children can't have most of the candy that you find for sale at Easter time?  What if they can't have eggs?  What do you do for them to keep them from feeling left out when all the other kids are eating Cadbury eggs and hunting for colored boiled eggs? How about making some special easy homemade Easter chocolates for them or with them?

It's a stretch for me to even say these candies are homemade, because all you really do is melt chocolate.  First, choose a chocolate that's made without milk products; Trader Joe's semi-sweet chocolate chips are one example.

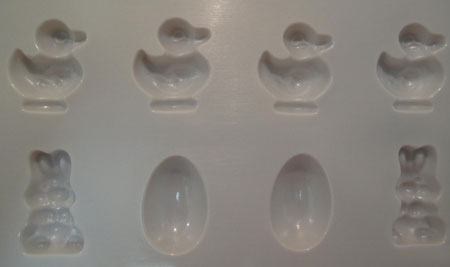
Then, find one of these Easter candy/chocolate molds.  If you plan ahead you could order it online, but if you have a cake supply store nearby like I do, you can find one there.  Craft stores carry some of these, but you usually don't find a very broad selection there.

I'm semi-obsessed with these molds.  You fill the little cavities with a small amount of melted chocolate or hard candy syrup, and refrigerate for an hour or so til completely set.  When you tip it upside down to unmold, you have the cutest little things ever.  I promise you people will be impressed and think you're some kind of culinary genius, when all you did was melt chocolate and buy a $2 mold!

Easter Chocolate Candy Mold

For Easter, I chose this mold with bunnies, duckies, Easter eggs and lambs.  I like to put the chocolate chips in a glass measuring cup, and microwave them until melted, stirring every 30 seconds. It won't take very long; less than 2 minutes usually depending on how much chocolate you're working with at once.  I'd recommend a small amount in each batch so that it doesn't start to cool and thicken before you get it all into the molds.

I spoon the chocolate into a plastic squeeze bottle to fill the molds, but you could just use a small spoon to do it.  When all the cavities are filled, you need to carefully smack the filled mold on the countertop to settle the chocolate into all the little nooks and crannies.  You also want any trapped air bubbles to rise to the surface.  It might take a few smacks to get the job done.

Easter Chocolate Mold Poured

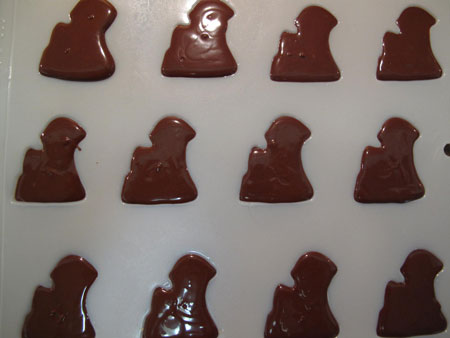
After unmolding, this is what you have.  You can see that I got in too big of a hurry, and didn't get all the air bubbles out of my candies.  No worries though!  We're going to wrap each chocolate in a foil square, and the bubbles won't show.

Easter Chocolate Molded

I found gold and silver 4″ foil squares at my craft store, but I've seen pastel-colored ones at the cake supply store that would have been even cuter.

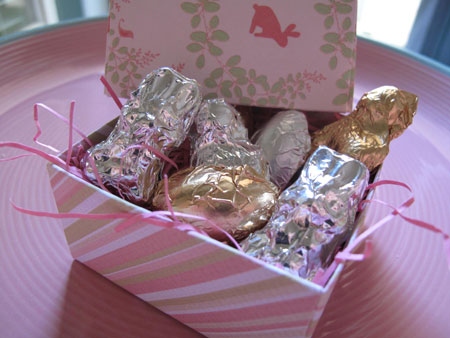
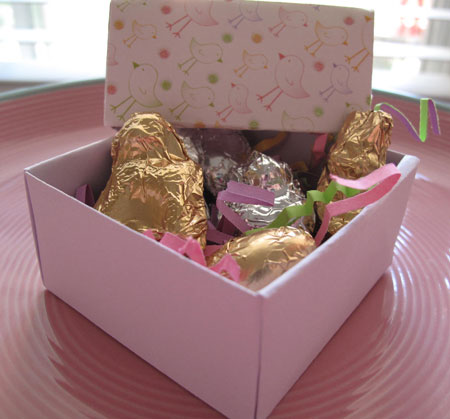
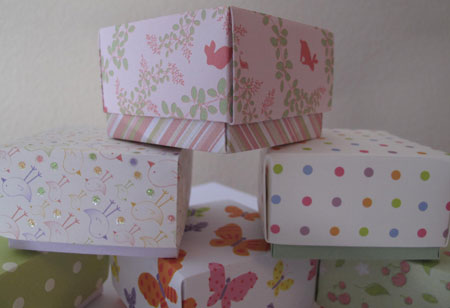
You could sprinkle these wrapped chocolates into an Easter basket, or you could use them as little Easter gifts or party favors. Remember the origami boxes I made for the painted glass marble cross magnets?  Let's use those to give these chocolates away.

Origami Boxes

Add some pretty paper shred or Easter grass into the box, fill with the chocolates, and voila!  You have an adorable little gift that is handmade with love, but no eggs or dairy!

Easter Chocolate Candy Box Bunnies

~BigSis

Easter Cake Pops

April 14, 2011

I'm not much of a sweet eater but there's something about Easter that brings out a little bit of a sweet tooth in me. Maybe it's all those years of eating the Reese's peanut butter eggs and Cadbury cream eggs that makes me crave sugar at this time of year?  🙂

If you're in the mood to make some festive sweet treats for Easter and are interested in trying something a little different this year, you might want to consider making some of these adorable Easter Cake Pops.

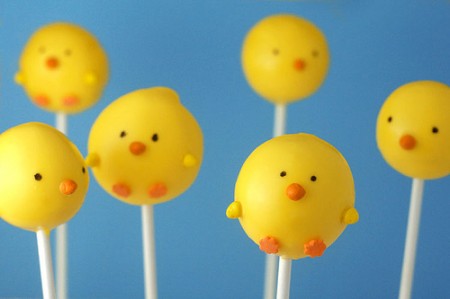
Easter Cake Pops

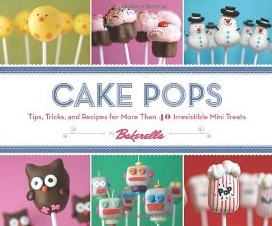
Cake Pops: Tips, Tricks, and Recipes for More Than 40 Irresistible Mini Treats

Just in case you've never seen or heard of Bakerella, she has become quite infamous for creating the most adorably decorated, fun, and festive Cake Pops. Last year she came out with her own gorgeous book that shows you how you can make them yourself.

It's not too late to order this book from Amazon and have it in plenty of time to make some of these for Easter!

Here are just a few of the Easter Cake Pops featured in her book.

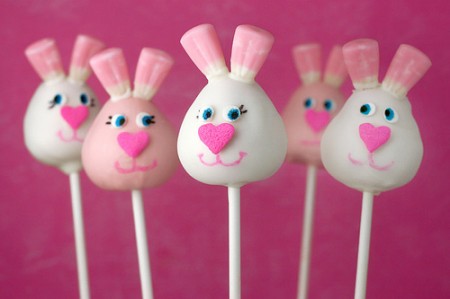
Easter Bunny Cake PopsEaster Bunny Cake Pops

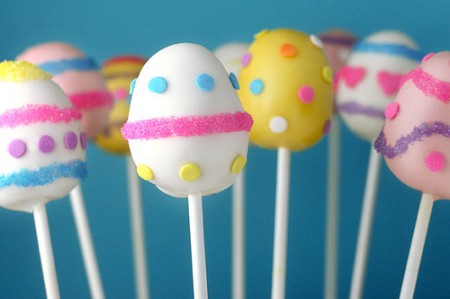
Easter Egg Cake PopsEaster Egg Cake Pops

Easter Spring Chicks Cake PopsEaster Spring Chicks Cake Pops

I just love each of every one of these adorable little creations!

I'm actually stepping outside my comfort zone this year and am going to attempt to make my first Easter Bunny Cake! If it's not a total flop, I'll be posting photos here in just a few days, so be sure to check back with us.  🙂

(Images from Bakerella)

~LilSis
Decorate Your Easter Cookies

April 12, 2011

Chocolate Cookies Decorate Easter

I said the other day that Easter required chocolate, and I meant it!

These are my favorite chocolate cookies right now, since I made them for the SPCA Bake Sale last December.  They're Isa Chandra Moskowitz's Mexican Chocolate Snickerdoodles from Vegan Cookies Invade Your Cookie Jar, and they're delicious!

They do need to be dolled up and decorated just a touch for Easter though, don't you think?  I thought!  And this is what I came up with.

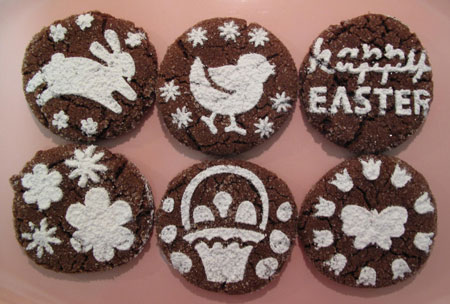
Easter Stencils Cookies Decorate

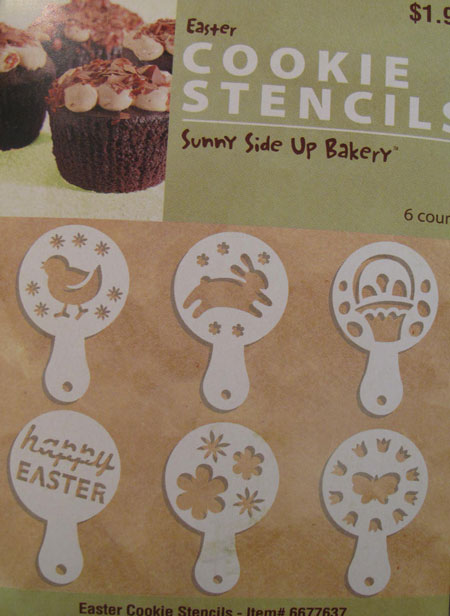
I found these cute Easter stencils at Hobby Lobby.  If you have a Hobby Lobby near you, you know that no one does adorable holiday food packaging and goodies like they do!  Most of our decorative bake sale packaging comes from Hobby Lobby.

Back to the Easter stencils.  For just $1.99, I got 6 reusable plastic stencils that can be used with cookies, cupcakes, or anything else that is flat.

All you do is choose a cookie or cupcake with a level surface.

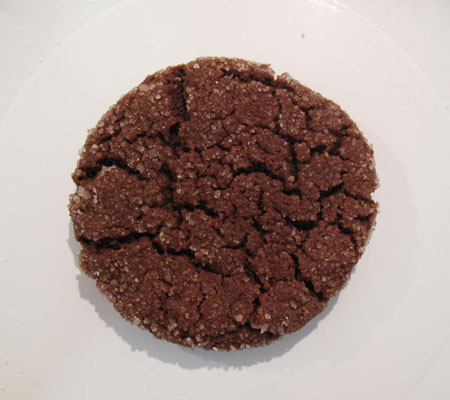
Chocolate Cookies Decorate Bare

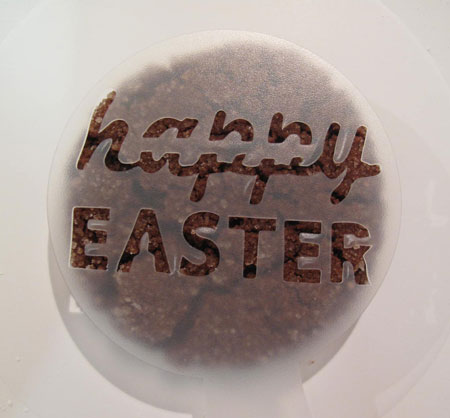
Place a stencil on the cookie.

Chocolate Cookies Decorate Stencil Easter

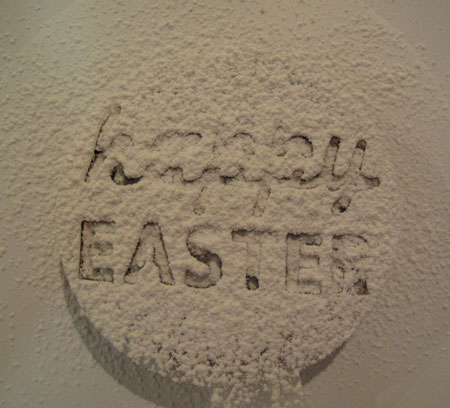
Sprinkle it with powdered sugar, as heavily or as lightly as you like.

Chocolate Cookies Easter Decorate Stencil

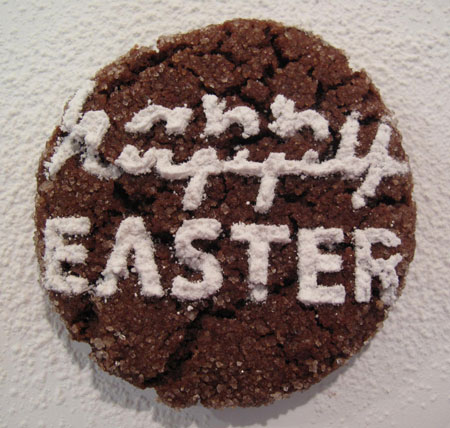
Carefully remove the stencil and admire your pretty image!  How fun is that!

Chocolate Cookie Decorate Easter

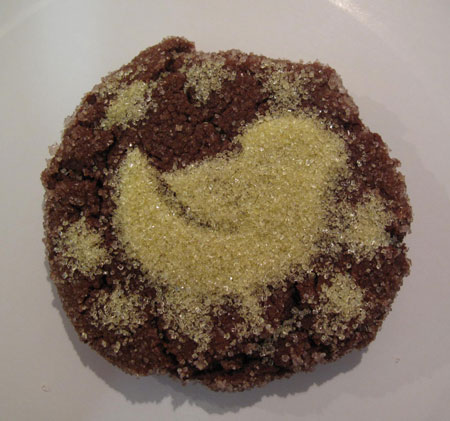
I experimented with colored coarser sugar on a cookie, and it didn't work out too well.  So I had to eat that one.  Oh, darn.  This blogging thing is rough.  🙂

Chocolate Cookie Decorate Easter Goof

Powdered sugar looks pretty on a cookie, but it doesn't stick so you have to be careful not to disturb the image.  I bet it would stick better if you sprinkled the sugar on a frosted cookie or cupcake.

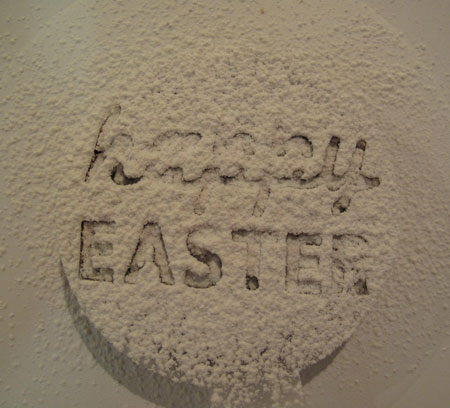
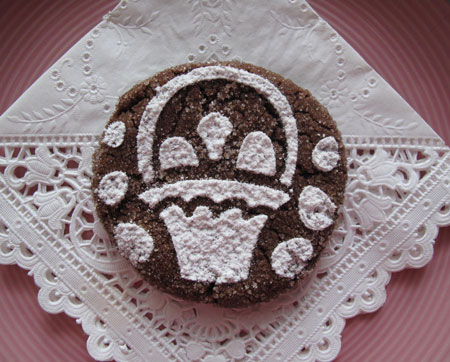
I already showed you the “Happy Easter” cookie close-up.  Here's the Easter basket

Chocolate Cookie Decorate Easter Basket

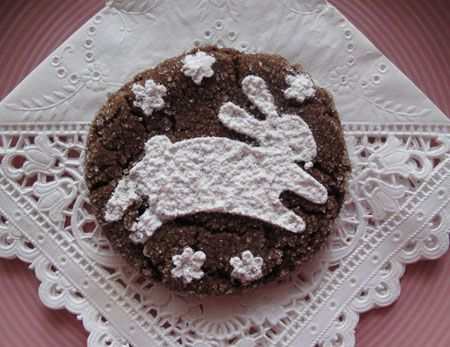
the Easter Bunny

Chocolate Cookie Decorate Easter Bunny

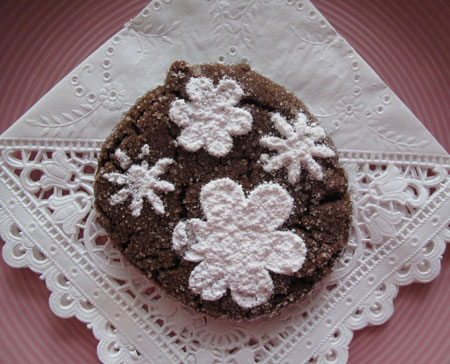
the flowers

Chocolate Cookie Decorate Easter Flowers

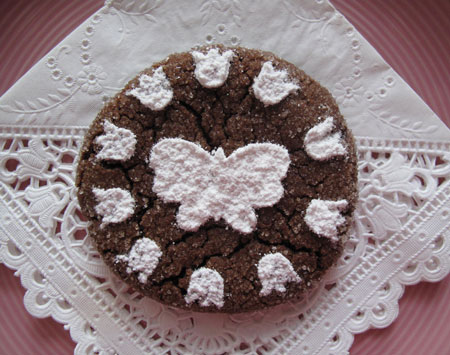
the butterfly with tulips

Chocolate Cookie Decorate Easter Butterfly

and the chickie!

Chocolate Cookie Decorate Easter Chick

This was a fun and super-easy project to do, and I bet your kids would love to help with it!  You may be cleaning up powdered sugar til next Easter, but at least you'll have great memories to show for it!

We're still hatching up more Easter fun, so check back with us soon!

~BigSis
Here Comes Easter!

April 10, 2011

Easter Bunny Carrot

Here comes Peter Cottontail, hoppin' down the bunny trail.
Hippity, hoppity, Easter's on its way!

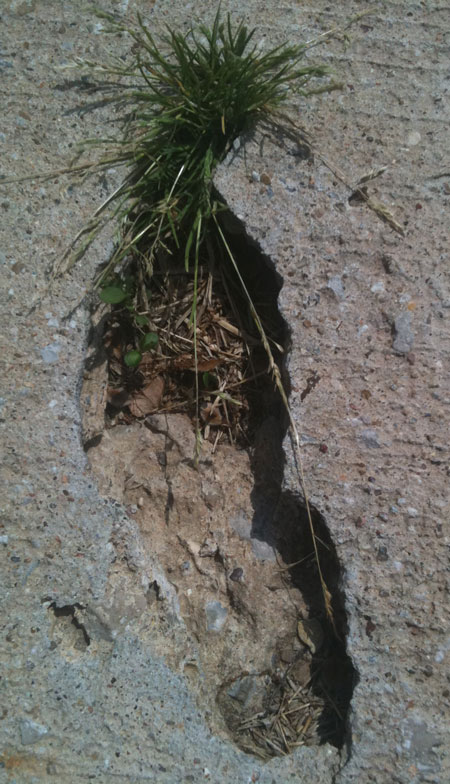
How's that for a non-traditional photo to kick off the Easter season?   I was out for a walk last weekend, and passed by this crack in the sidewalk.  It looks to me as though Peter Cottontail left an image of his carrot embossed here in the concrete to remind us that Easter is on its way!
Easter comes late this year on April 24th, so we have just 2 more weeks til it's here.  The meaning of the holiday is the heart of it of course: that Jesus died for us and rose again 3 days later.  It's also a holiday set on a backdrop of spring, pastel colors, new clothes, and oh yeah…candy!

Just because it's an important time in our lives as Christians doesn't mean that we can't also enjoy it and have some good, clean chocolatey fun too. 😀  Now's the time to get those bunny cake pans out of storage and get busy.

In the next couple of weeks, we'll be sharing some Easter joy with you.  We're planning some Easter cookies, crafts,and maybe even a bunny cake!

~BigSis