February 10, 2013
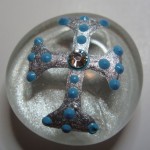
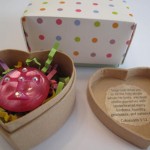
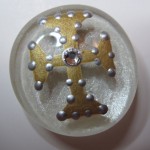
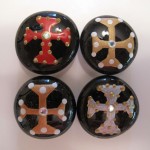
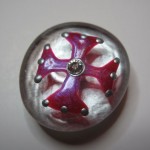
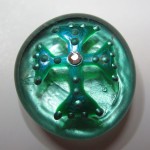
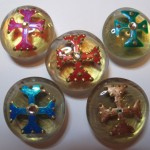
Almost 2 years ago, I showed you how to make painted marble magnets with crosses. Remember these?
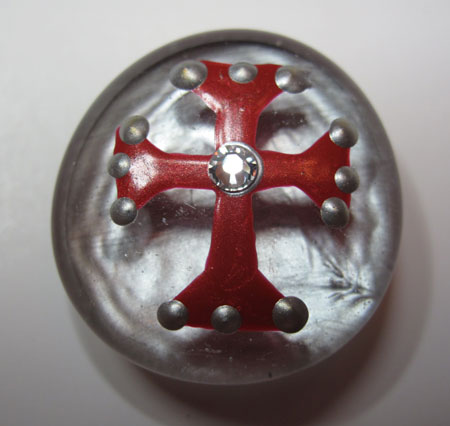
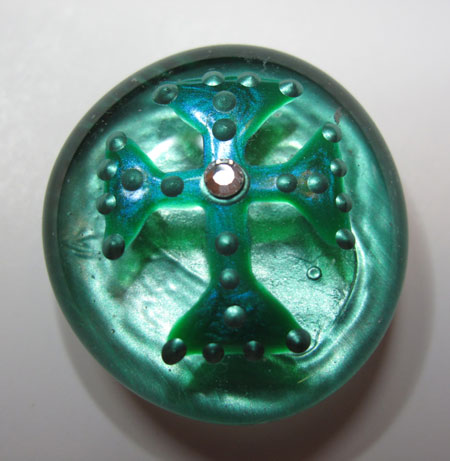
I’ve been making them for years, and I especially like to make them for Easter gifts and Christmas stocking stuffers. There’s another holiday coming up that lends itself perfectly to these little gifties though. Its Valentine’s Day, and that of course means we draw hearts!
The method is the same as I showed you for crosses. With the hearts though, I just freehand it instead of using a guide behind the marble. I’m not sure why I forego a guide with hearts. Maybe it’s a deep-seated psychological ideal that matters of the heart should be allowed to be free to become what they will, rather than following a template.
Nah, that’s not it.
I think I just like the imperfect nature of these drawn freehand and it kind of reminds me of making Valentines as a kid, back when we weren’t so obsessed with everything being perfect. Heart shapes are like pizza to me; even a flawed heart shape is still a happy heart! Bad pizza is still pizza!
If I could give you one piece of advice, however, don’t have 3 cups of coffee like I did before you start painting these! Shaky hands and this project don’t go very well together. Your hearts might be more imperfect than you expect!
I’ve tried a lot of different glass paints, and this time I tried a new one. I bought several bottles of Martha Stewart’s relatively new line of craft paints that are approved for a variety of surfaces, including glass. It’s called Multi-Surface Acrylic Craft Paint, and I chose the pearl finish because I think it’s prettier than flat or plain glossy finishes on the marbles. I chose a variety of pinks and lavenders since it’s Valentine’s Day: Purple Martin, Eclipse, Fruit Punch, Pink Taffeta, and Antique Silk.
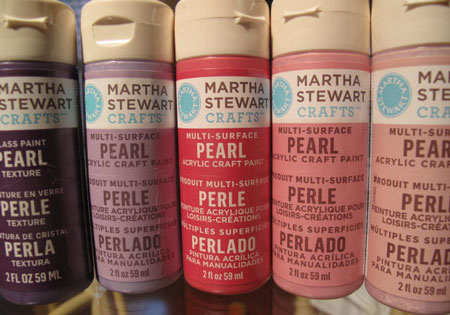
Martha also has a new-ish line of glass paint, but it’s slightly more expensive and I wanted to see how this multi-surface paint held up. You can air-cure both paints for 21 days, but you can bake the dedicated glass paint if you wish to speed up the process. For these magnets, neither is necessary since we don’t need the magnets to be food-safe or dishwasher-safe. I’m just reasonably careful with the marbles until the paint has had a chance to bond with the glass.
Overall, I really like Martha’s craft paint. The selection of colors is awesome – as you would expect from Martha. There are also metallic, gloss and glitter finishes in the line too. I would have chosen the glitter variety, but I think it probably would have clogged the tiny painting tips I use.
The coverage was great, and I didn’t get many bubbles which is fantastic. If I could change anything, I might wish for the paint to be the tiniest, tiniest bit thinner so that it took slightly less effort to squeeze the paint out of the itty bitty painting tip. On the upside, when I made dots they held their texture and didn’t completely flatten out.
So, let’s get to it! For more detailed instructions and photos, please refer to my previous post on how to make painted marble magnets with crosses.
The first thing we need to do is gently clean the glass marbles. I like to use straight white vinegar with a water rinse afterwards. Let them dry for a bit, and then dry each one to make sure you don’t get spots. Place them on a foil or paper towel lined baking sheet. Be careful not to touch the surface of the marble with your hands, just to make sure no body oils get on your squeaky clean marble. This will help ensure that the paint adheres.
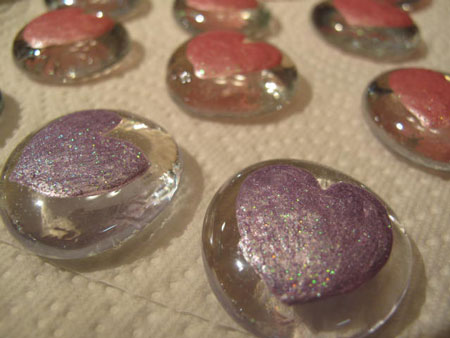
Attach a metal glass painting tip to the nozzle of a plastic paint bottle. You can get the bottles and tips in a kit at many craft stores. Then just draw a heart, and fill it in with paint.
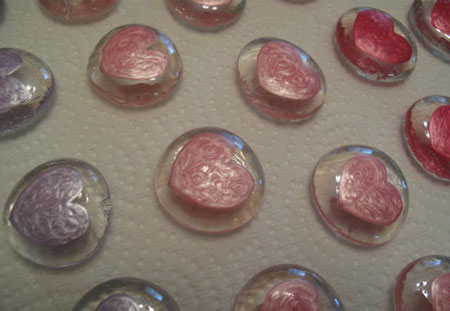
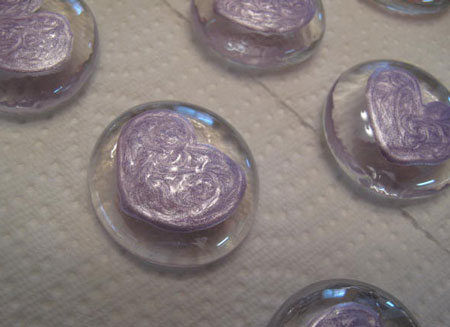
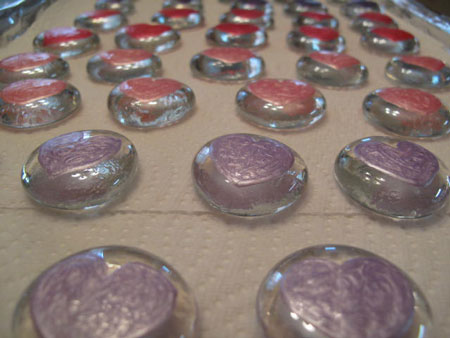
If you see any air bubbles form, try to immediately pop them with the painting tip. Allow the paint to dry, at least 2 hours, depending on how thick your paint is.
Once your first coat is dry, go back and apply a second coat. The second coat will be essential if your paint is somewhat sheer or streaky, but I think a second coat always helps to smooth and even out the first coat.
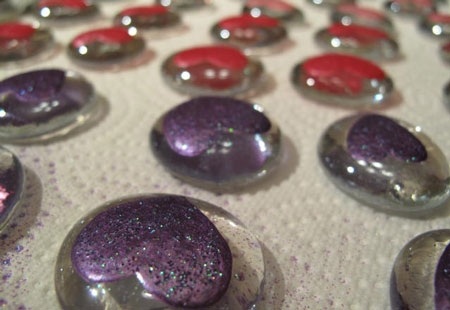
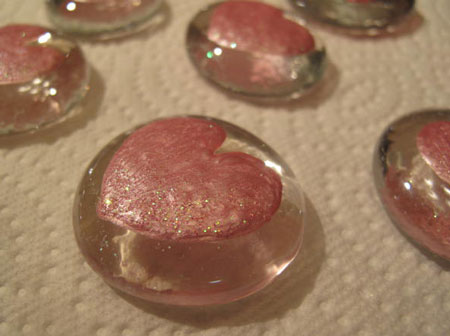
I added one little twist with the hearts that I didn’t do with the crosses. I added a sprinkle of glitter to the marble while the second coat of paint was wet, and I like how it came out…sparkly!
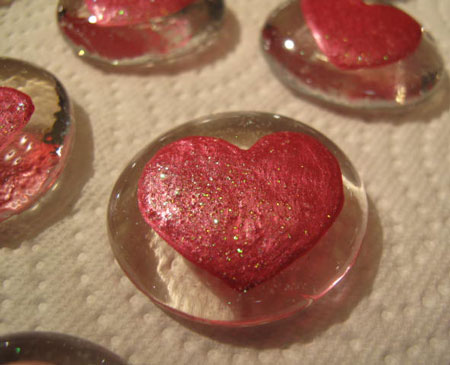
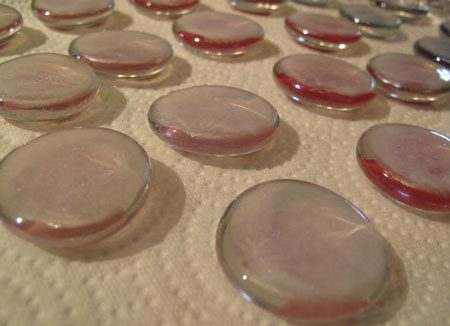
After the second coat of paint is completely dry, I flip the marbles over and apply a thin coat of shimmery white to the back. I think it helps to hide the magnet a little bit, but this is totally optional. My favorite paint for this purpose is PermEnamel in White Pearl. With the crosses, I used a variety of colors for the back of the marbles, just for fun and different effects.
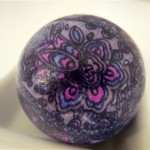
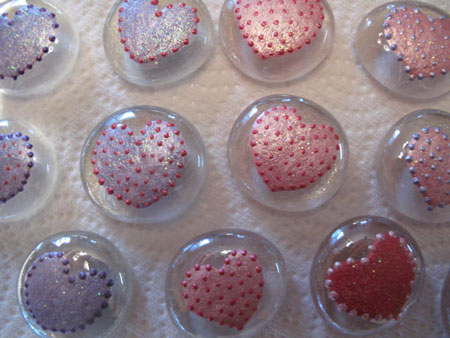
Once that background coat dries, it’s time to get dotty. Using a contrasting color of paint, just make dots all over the hearts with the same painting tip. On some hearts I just make an outline, but on others I go dot wild! Here are the finished heart glass marble magnets.
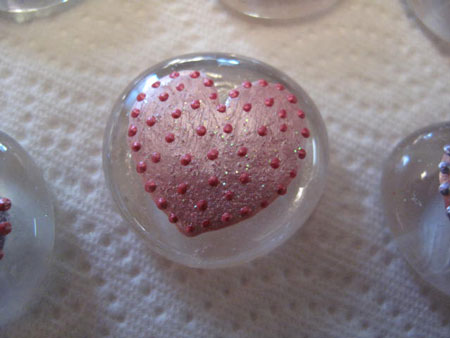
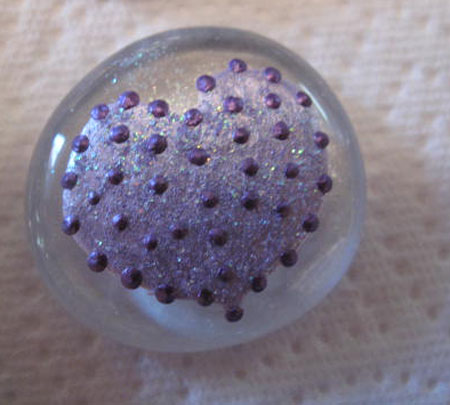
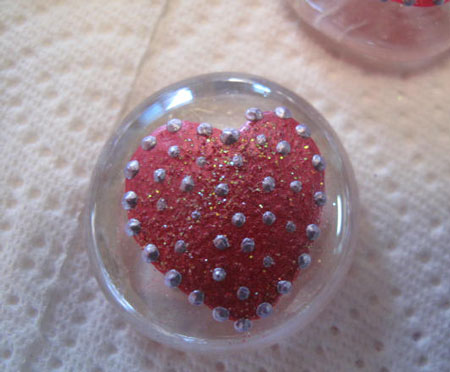
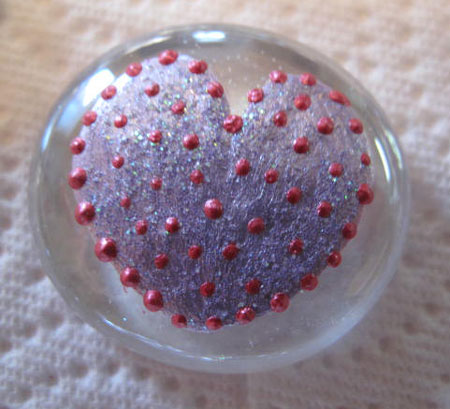
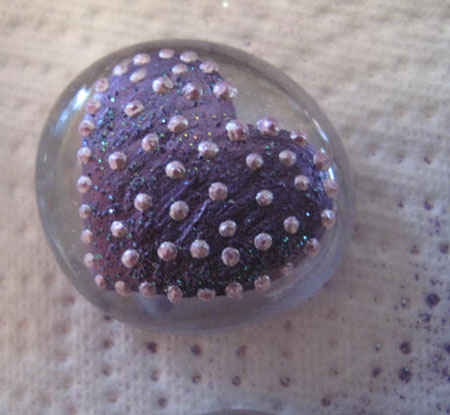
After your dots have dried, you can attach a magnet to the back and then decide how to package these little gems.
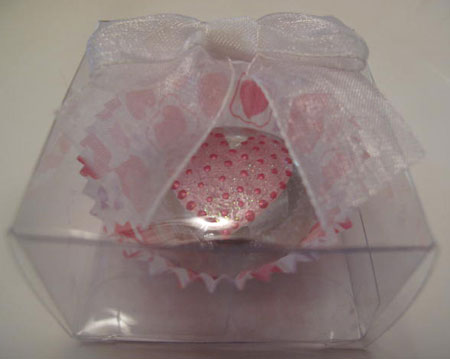
This is my favorite way. I think they look like little candy bon bons! I used a tiny paper candy cup tucked inside a clear plastic Wilton box that is often used for wedding favors.
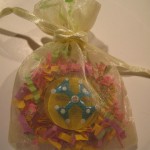
You could also package the marble magnets in small drawstring organza bags with a bit of colored shred, or in a stamped paper mache box like I made for the cross painted magnets. Inside the lid, you could include a scripture that focuses on love, a verse from a favorite poem, or anything else that has meaning for you and the recipient of your gift.
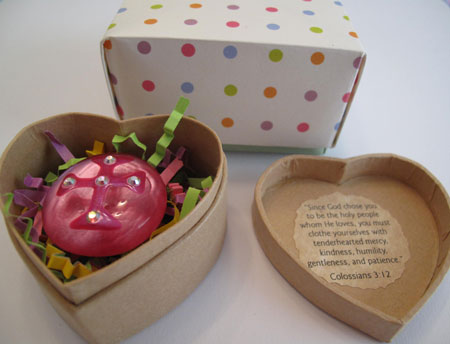
However you choose to package these heart painted glass marble magnets, I’m sure that everyone you give one to will appreciate that you created a personal handmade gift just for them! That to me is the meaning of the holiday. Happy Valentine’s Day!

~BigSis

